One of the best Linux distributions for beginners is Linux Mint, especially for those who are migrating from Windows to Linux. Unlike Windows, Linux Mint requires very little system resources. You don’t need a super-computer to run this operating system and it is completely free.
There are numerous ways to run and install Linux Mint. If you are unsure if you are ready to switch to Linux Mint, you can try it out by playing with the Live USB version, which we will be creating in order to install Linux Mint. You can also try it out by installing Linux Mint in a VirtualBox.
This guide is going to cover how to install Linux Mint as your main operating system.
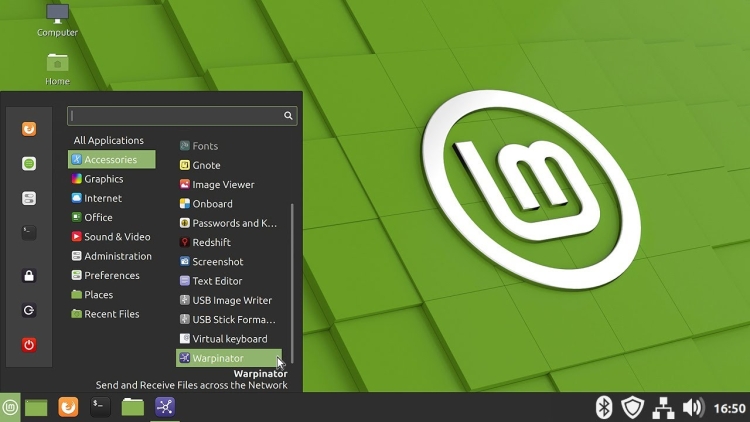
Linux Mint comes in three different editions, which are Cinnamon, MATE, and Xfce. I personally use the Linux Mint 20.2 Cinnamon edition. This guide is made using the Cinnamon edition for the screenshots, so things may appear a little different depending on what edition you decide on.
Step 1 – Download Linux Mint
Before we can install Linux Mint, we need to download it from the official website.
As mentioned above, you have three editions to choose from. If you are unsure on which edition to use, go with the Cinnamon edition.
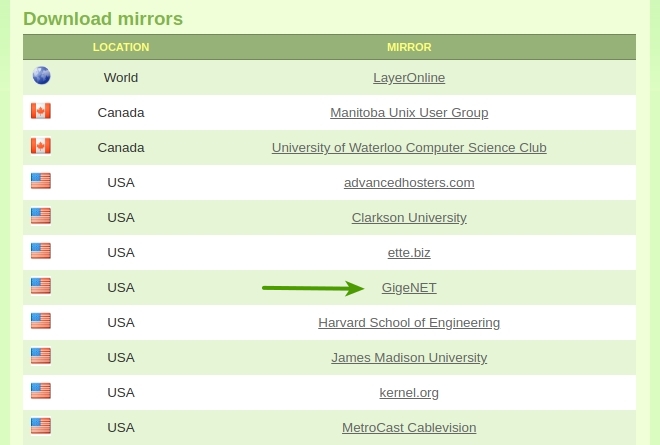
On the next page, scroll down to “Download mirrors” and choose a location that is close to where you live, this will help speed up the downloading process.
Step 2 – Create a Live Linux Mint USB
The Live Linux Mint USB is a bootable USB drive that will allow us to restart the computer and boot straight into the live version of Linux Mint. This will allow you to play around with Linux Mint before you install it.
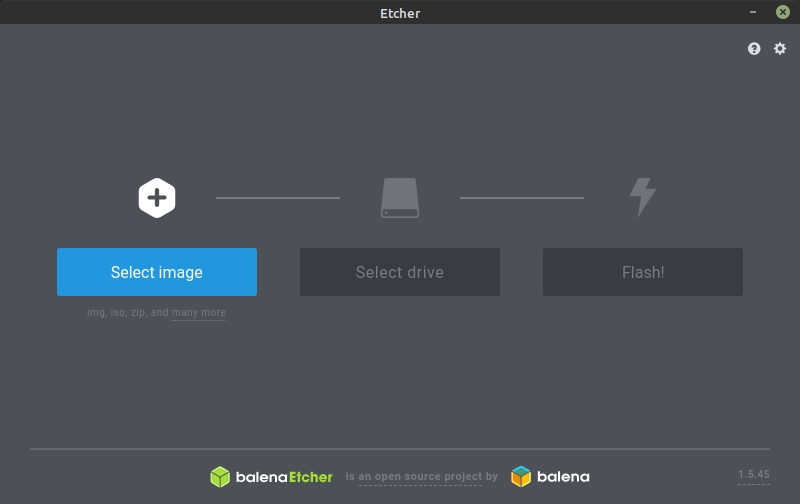
My favorite software to create a Live USB is Etcher, which is available for Windows, macOS, and Linux. If you don’t already have this software, you can download it for free from the balenaEtcher website.
After you have downloaded, installed, and opened Etcher, do the following:
- Click “Select image” and select the Linux Mint ISO file that you downloaded earlier.
- Click “Select drive” and select your USB stick.
- Click “Flash!”
The flashing process will take a few minutes to complete.
Step 3 – Booting into Linux Mint
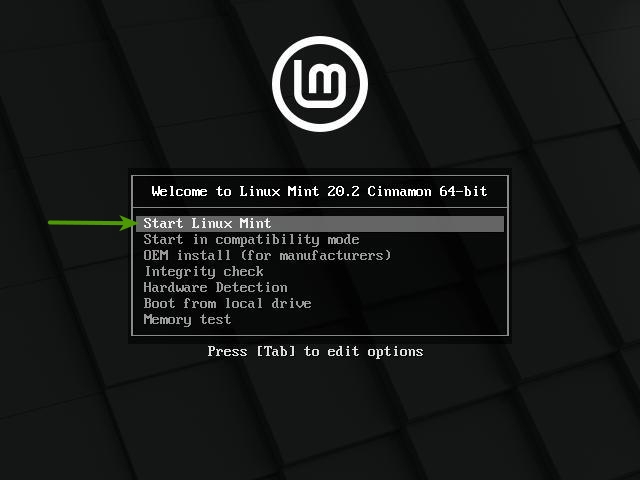
If you have never booted to a different drive before, this step may be a little tricky because we will need to boot to the Live USB stick instead of the main hard drive. In order to make this happen, we will need to do the following:
- Insert your USB stick into the computer.
- Restart the computer.
- Before your computer boots your current operating system (Windows, Mac, Linux) you should see your BIOS loading screen. Check the screen or your computer’s documentation to know which key to press and instruct your computer to boot to the USB drive first.
Step 4 – Install Linux Mint
Now that we have booted into the live session of Linux Mint, take some time to play around with it and become familiar with the operating system before you install it. Don’t worry, this is a live session, so you don’t have to worry about breaking anything, besides if you do, just restart your computer.
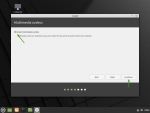
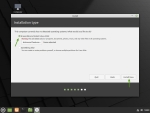
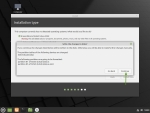
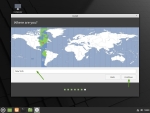
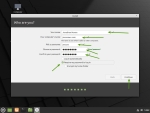
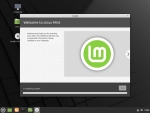
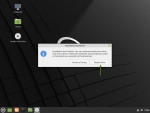
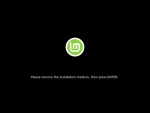
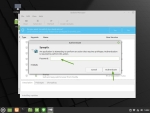
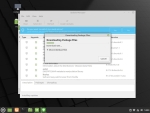
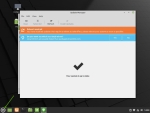
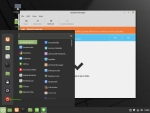
Let’s continue to the installation part of Linux Mint. The following images will guide you through the remaining installation process. This process should take between 10 to 20 minutes depending on the speed of your computer and internet.
That’s it, you’ve successfully completed the installation of Linux Mint 20.2 on your system. You can now copy your backed-up files to your computer and explore all of the wonderful things that Linux Mint has to offer.

