Do you want to have a better online experience without all of the annoying advertisements and tracking that invade your privacy?
Not all advertisements and tracking are created equal and many can be very intrusive to our online privacy. Did you ever wonder how Facebook, Google, and other platforms know your every move? Or, how do they display an advertisement for something that you looked at elsewhere? All across the world-wide-web are big-tech spies known as tracking codes. These tracking codes monitor and record the websites that you have visited and the actions that you have performed on those websites. All of this information is sent to big-tech and recorded in a database that creates your shadow profile. You can read more about shadow profiles in my article, The Ultimate Spy Game.
You can use ad blockers to help prevent this type of behavior, but you will need to have an ad blocker installed on every device that has access to the internet. Wouldn’t it be better to have just one device that blocks this behavior for all devices connected to your network?
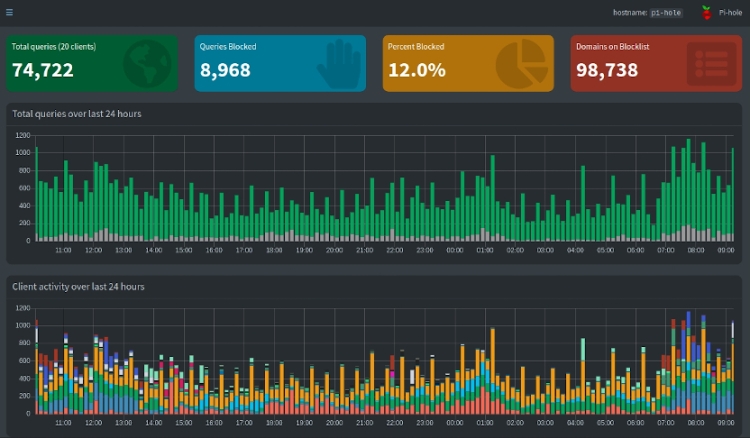
This is exactly what Pi-hole can do for you. Pi-hole is a network-wide ad blocker. In a typical home environment, this can cut out almost all ads to all devices in your home, without having to install an ad blocker on every single device.
In this setup guide, I will walk you through each step on how to turn a Raspberry Pi into the ultimate privacy-protecting machine. When you are done, you will become invisible to the trackers that big-tech uses and you will no longer be monitored and spied upon.
How Does Pi-hole Work?
In the simplest of terms, a DNS server is an internet address registry that helps locate the server using the domain name. When you visit any site, a query is made to the DNS server to locate the IP Address (location) of the server to connect to. Pi-hole puts itself between your device and an upstream DNS server and blocks out any requests to known ad and tracking servers. Pi-hole can accept DNS queries but it relies on an upstream server for resolving those queries.
What You Will Need
Although this article focuses on installing Pi-hole on a Raspberry Pi, Pi-hole can be installed on any Linux-based system such as Ubuntu, Debian, Fedora, and CentOS. Pi-hole can also be installed within a VirtualBox or within a Docker Container. You can find installation instructions for each on the Pi-hole website.
For this article, you are going to need a Raspberry Pi with at least 2GB of free space and at least 512MB of RAM. You will also need to have a Linux operating system such as Raspbian already installed on the Raspberry Pi and the Raspberry Pi connected to the internet.
Installation of Pi-hole
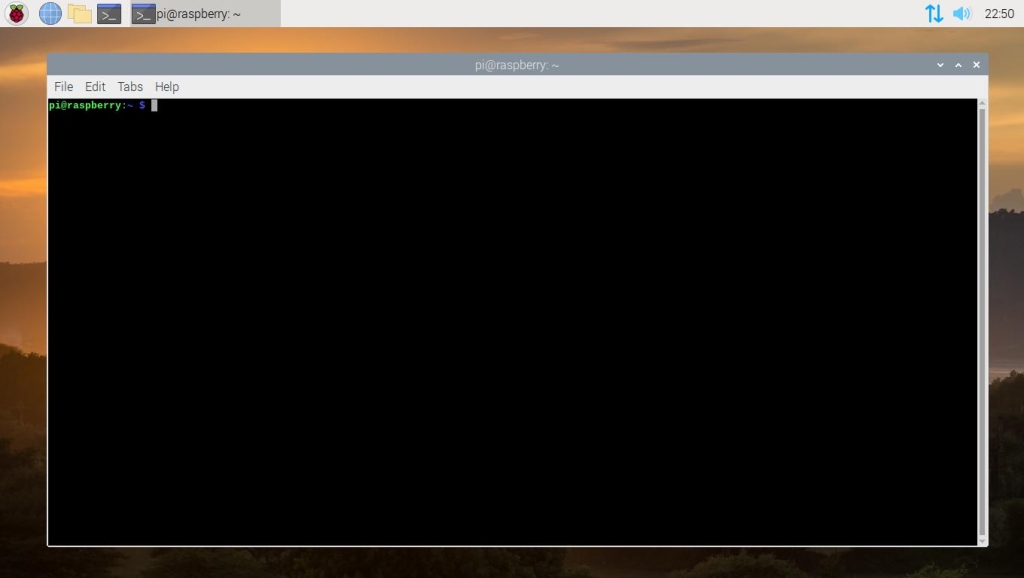
For the amount of work that Pi-hole does and the extensive amount of customization that you can do, Pi-hole is relatively easy to install. The very first thing that you will need to do is to either open up a terminal on the Raspberry Pi or SSH into the Raspberry Pi.
Now that we have access to the terminal, we can begin to install the Pi-hole software with one simple line of code. This will run the automated installation script for Pi-hole, downloading any necessary packages, as well as letting you set Pi-hole’s configuration before the installation completes.
sudo curl -sSL https://install.pi-hole.net | bash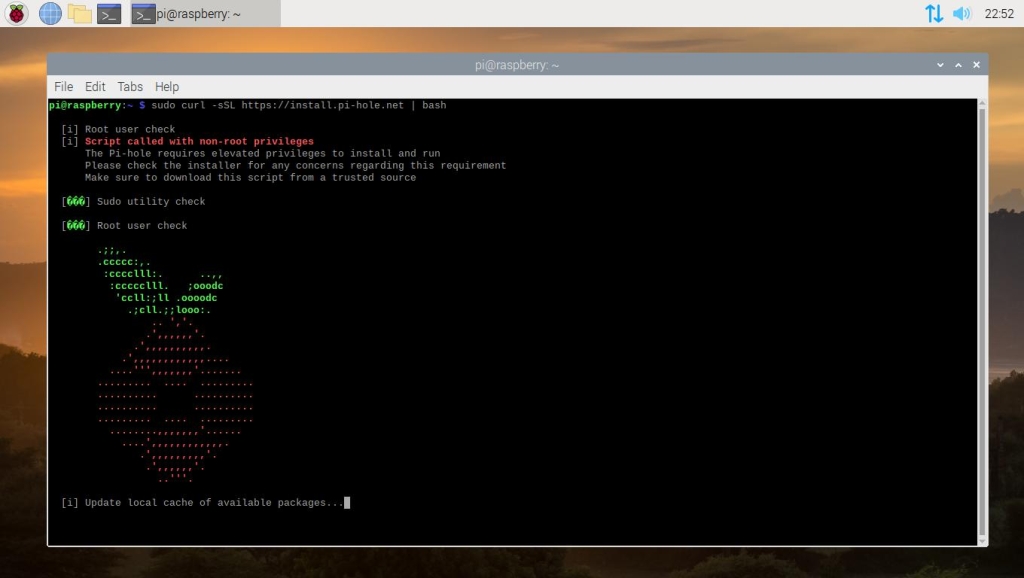
Throughout the installation process, several configuration options will be displayed, which will ask you to accept or change a value. In the first few screens, all that you will need to do is hit the “Enter” button on your keyboard.
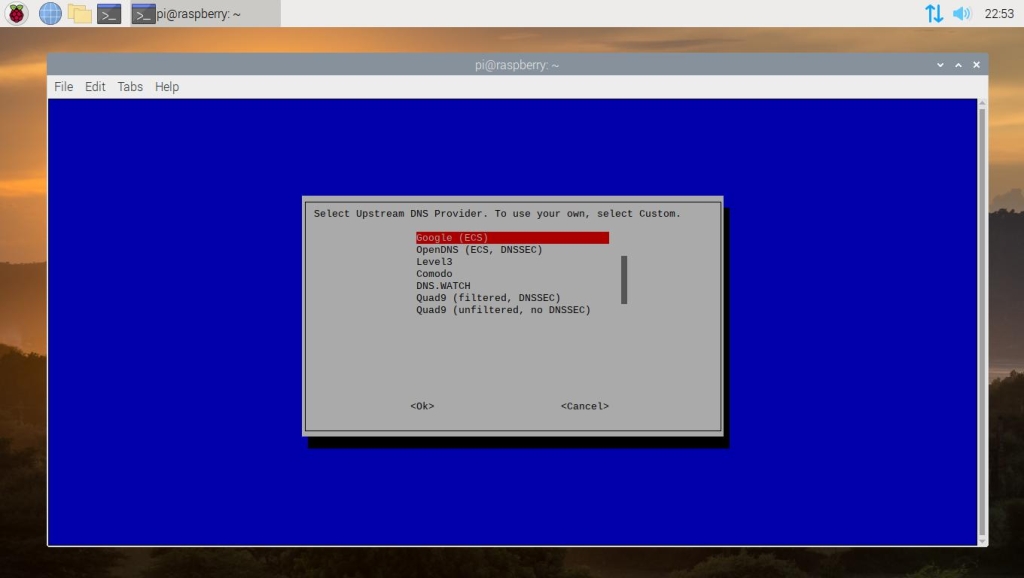
You will be asked to select which Upstream DNS Provider that you would like to use. Both Google and Cloudflare are good ones to choose from.
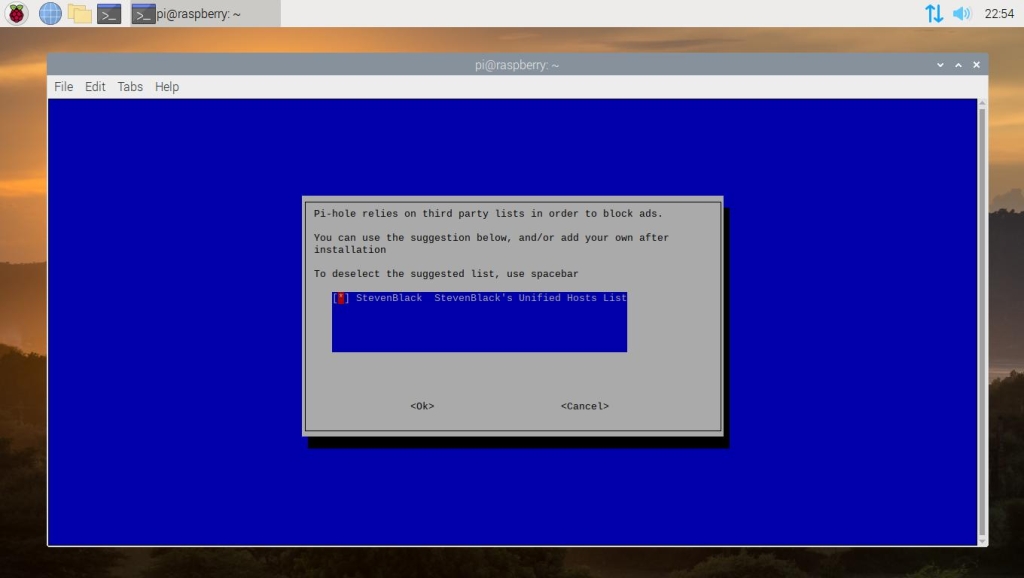
In the next step, you will be asked to enable or disable third-party adblocking lists. It is recommended that you leave all of these selected.
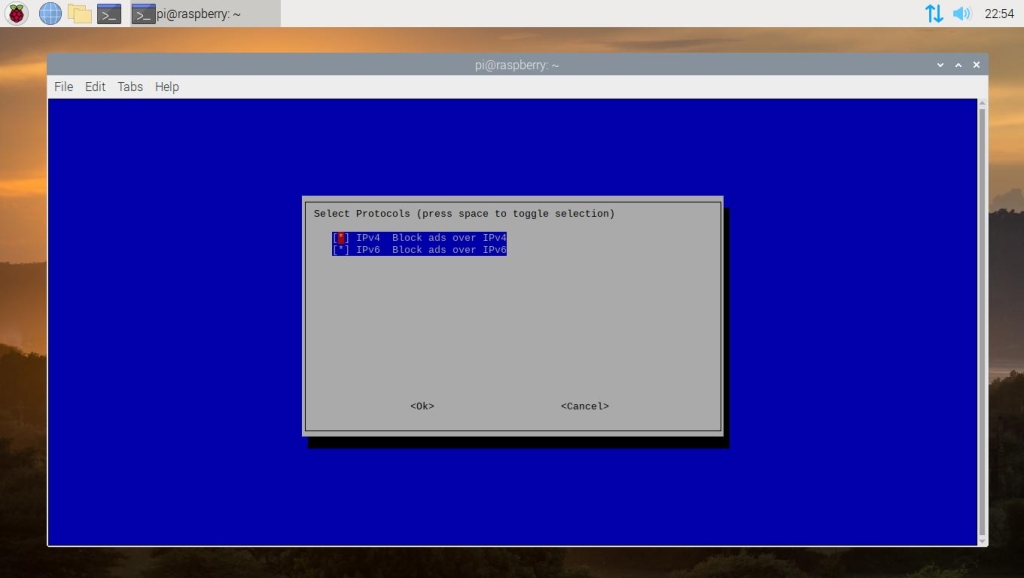
By default, Pi-hole will block ads over IPv4 and IPv6 connections. Unless you have any preference to change this, leave the default options selected and continue.
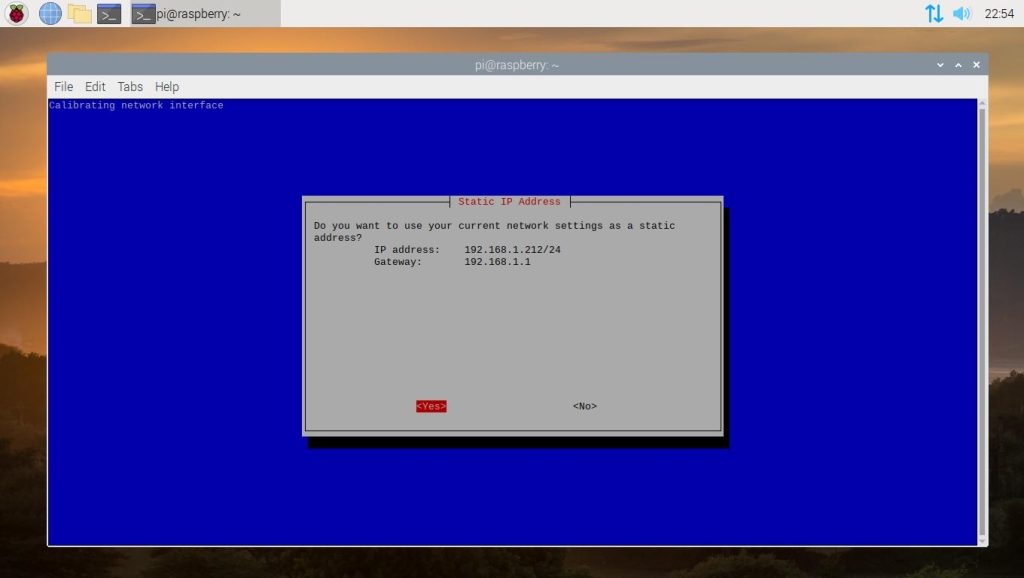
You will be asked to confirm whether the IP address and IP gateway (likely to be your local router) shown are correct to use for Pi-hole’s static IP configuration. Hit enter on Yes if this is correct, or No if it isn’t to change your settings.
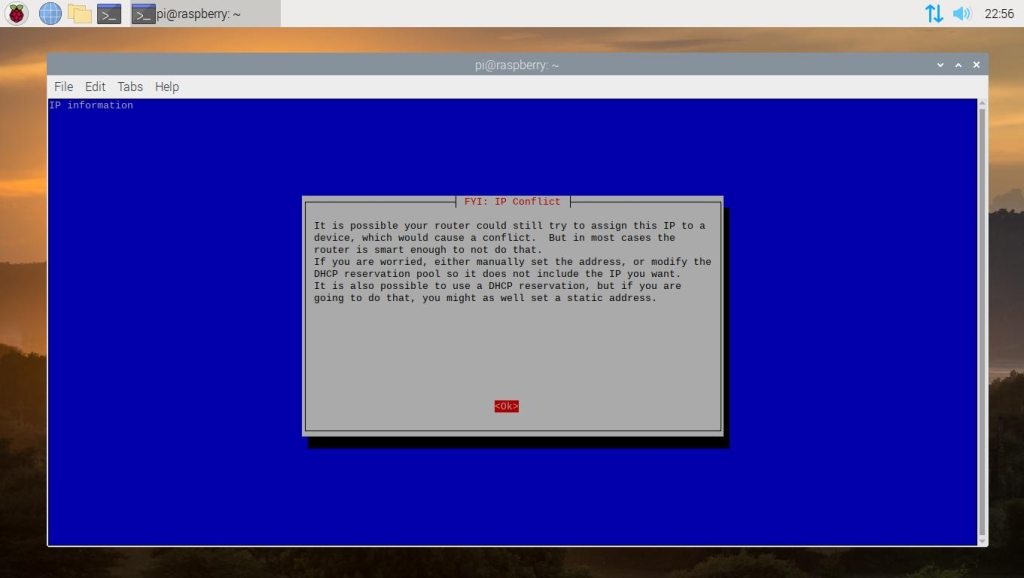
You will be warned about potential IP conflicts. Hit the enter key to accept this warning and proceed.
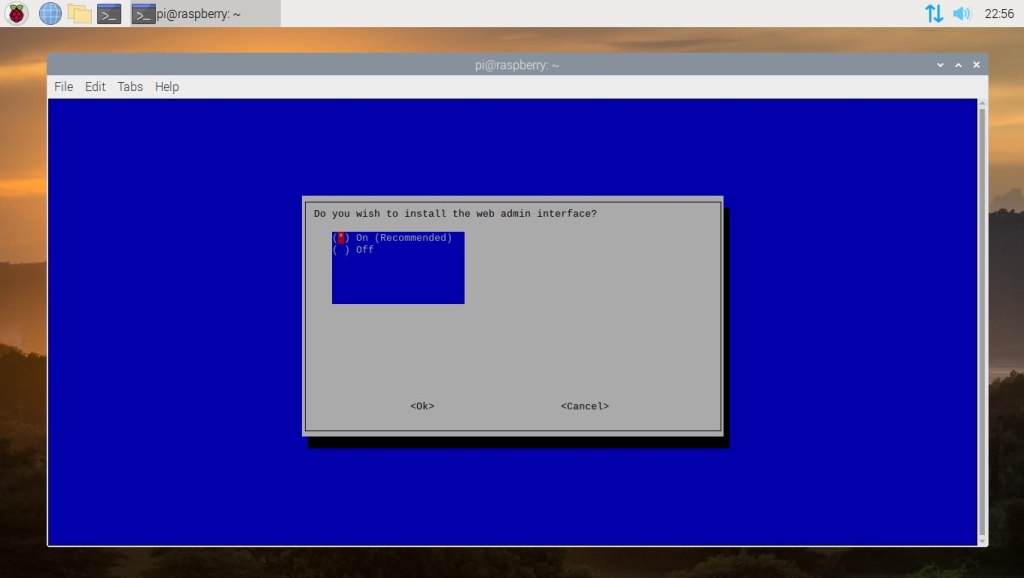
It is highly recommended that you keep the web admin interface value set to on. The web admin interface will allow you to change settings and modify other aspects of Pi-hole easily from a private web frontend. Select OK and continue to the next step.
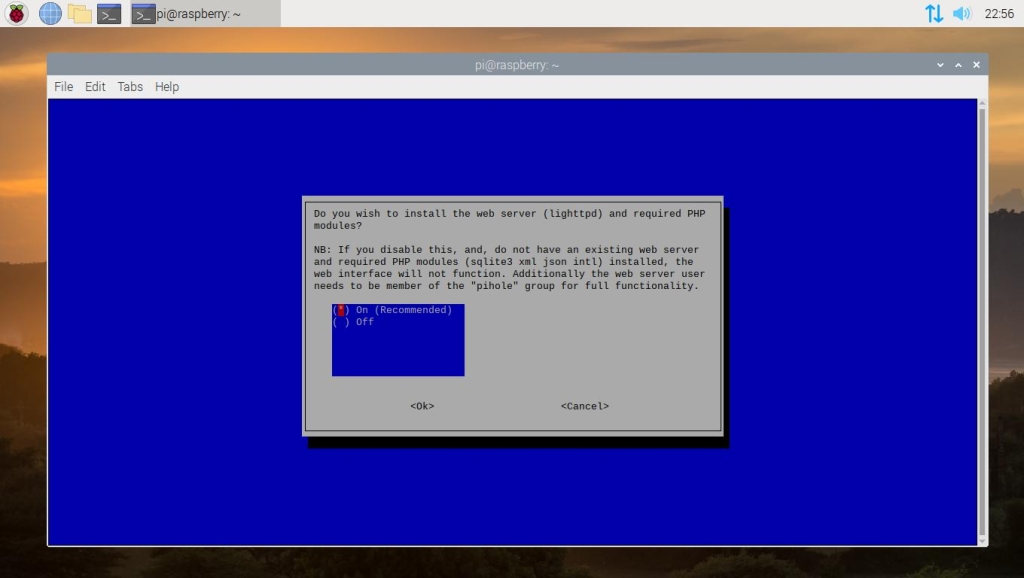
Allow Pi-hole to install the web server and required modules. This will be needed for the web admin interface.
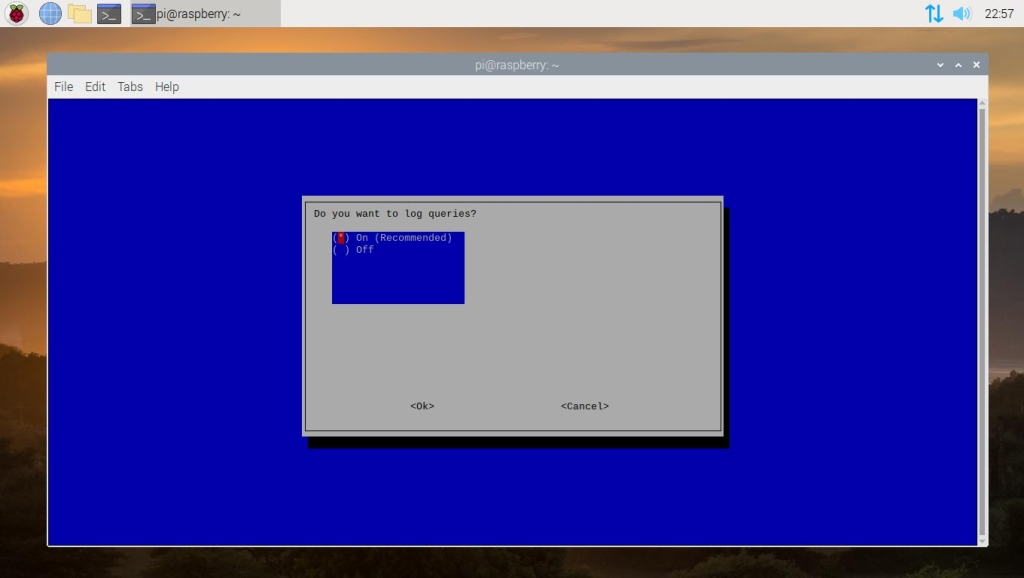
Pi-hole will ask if you would like to log queries. This is useful, as you’ll be able to see what Pi-hole is blocking and how often those domains are blocked. This is selected by default, so hit tab and enter to confirm.
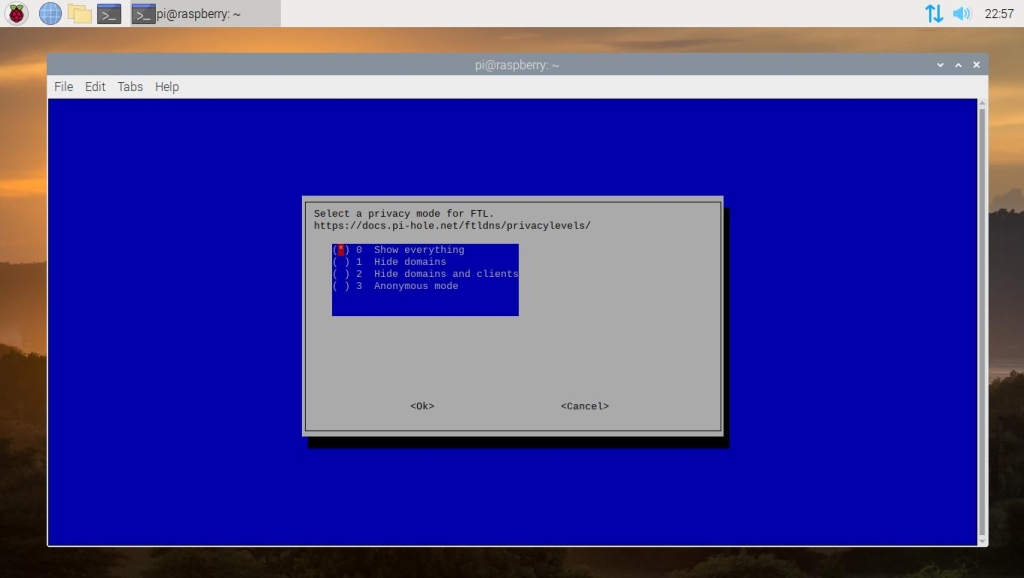
This next option is up to you and how detailed of information that you want to be collected for the queries that Pi-Hole processes. Select one of the privacy levels and continue on to the next step.
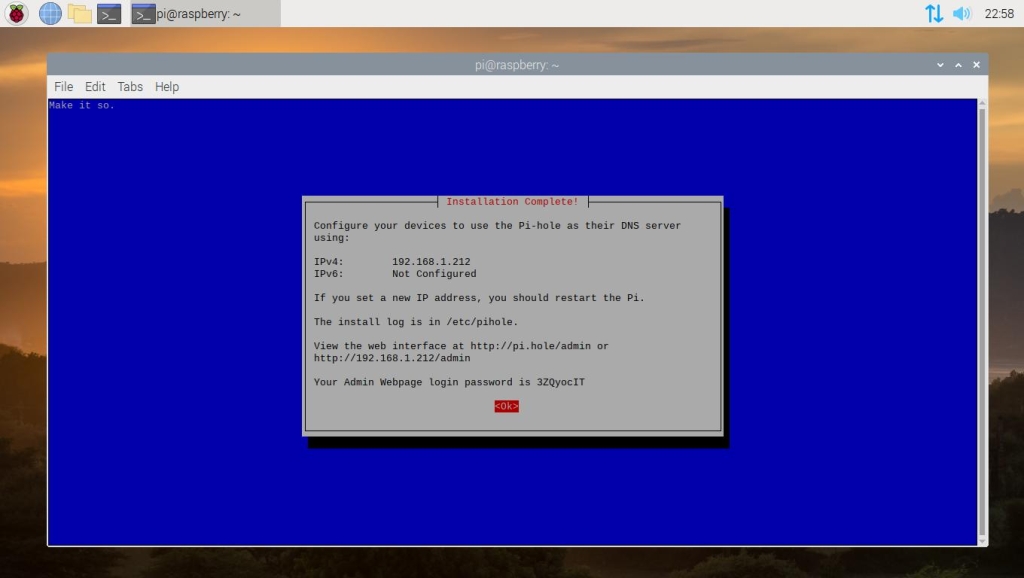
We have made it to the final confirmation message. This message will provide you with information on how to access the web portal along with your auto-generated password for signing in. Be sure to note everything down and hit “Enter” to complete the installation.
Close the terminal window; we’re done with the command line. Open a web browser and navigate to http://pi.hole or to the IP Address that was given to you in the last confirmation message. This is where you’ll control Pi-hole and decide what to block and what to allow.
Reroute the Traffic
There is a little more to do before we can really utilize Pi-hole for our privacy-protecting needs. We will need to reroute the internet traffic through the Pi-hole so it can filter out the garbage that we don’t want before it reaches back to our devices. The easiest way to do this is by making a change within your network’s router.
Open your router’s control panel in a web browser (consult your router’s documentation for this part) and look for your network’s DHCP/DNS settings for your LAN – not your WAN. In the DNS field, type in the IP address of your Raspberry Pi. This will force all inbound data to go through the Pi and get checked against your lists before going out to your devices. Now restart your networked devices one by one; this forces them to reconnect to the internet through the Pi-hole. More information on this method can be found on Pi-hole’s website.
If for some reason your router doesn’t permit you to make these changes, you may have to resort to using Pi-hole as your DHCP server instead of your router, which is what I have done with my own home network. Pi-hole has a detailed guide on how to set up and use Pi-Hole’s DHCP Server.
Conclusion of Your Pi-hole Setup
Once your devices are configured, Pi-hole will work in the background to protect and block ad networks and trackers on some or all of your devices, depending on how your devices are configured. There are many more guides out there that will teach you how to configure each of Pi-hole’s features, but for the most part, you shouldn’t have to touch Pi-hole during your normal day-to-day usage.


