• Home
  • Guides
    • All
    • Linux
    • Programming
    • Tools
    • WordPress
    Monitoring Web Page Changes with Python

    Monitoring Web Page Changes with Python

    My SSH Setup: How I Manage Multiple Servers

    My SSH Setup: How I Manage Multiple Servers

    Building a Network Tracker Auditor for Privacy with Python

    Building a Network Tracker Auditor for Privacy with Python

    Streaming Audio Files Securely with PHP

    Streaming Audio Files Securely with PHP

    Scraping Web Data with Python Helium

    Scraping Web Data with Python Helium

    Building a Secure 2FA Authenticator with Python

    Building a Secure 2FA Authenticator with Python

    Building a Cache Warmer with Python

    Building a Cache Warmer with Python

    How to Create a Python GUI to Launch Webhooks

    How to Create a Python GUI to Launch Webhooks

    Mastering python-docx A Guide to Creating Word Documents with Python

    Mastering python-docx: A Guide to Creating Word Documents with Python

  • Blog
    • All
    • Artificial Intelligence
    • Privacy
    • Reviews
    • Security
    • Tutorials
    AdGuard Ad Blocker Review

    AdGuard Ad Blocker Review

    Surfshark VPN Review

    Surfshark VPN Review

    Nmap Unleash the Power of Cybersecurity Scanning

    Nmap: Unleash the Power of Cybersecurity Scanning

    Floorp Browser Review

    Floorp Browser Review

    Understanding Man-in-the-Middle Attacks

    Understanding Man-in-the-Middle Attacks

    Privacy-Focused Analytics

    Privacy-Focused Analytics: Balancing Insights and Integrity

    Safeguarding Your Facebook Account

    Safeguarding Your Facebook Account: Understanding the Differences Between Hacking and Cloning

    38 essential points to harden WordPress

    38 Essential Points to Harden WordPress

    10 Tips and Tricks to Secure Your WordPress Website

    10 Tips and Tricks to Securing Your WordPress Website

  • Apps
    • Bible App
    • Bible Verse Screensaver
    • Blue AI Chatbot
    • Early Spring Predictor
    • FIGlet Generator
    • Password Generator
    • StegX
    • The Matrix
    • WeatherX
    • Website Risk Level Tool
  • About
    • About JMooreWV
    • Live Cyber Attacks
  • Contact
    • General Contact
    • Website Technical Support
No Result
View All Result
  • Home
  • Guides
    • All
    • Linux
    • Programming
    • Tools
    • WordPress
    Monitoring Web Page Changes with Python

    Monitoring Web Page Changes with Python

    My SSH Setup: How I Manage Multiple Servers

    My SSH Setup: How I Manage Multiple Servers

    Building a Network Tracker Auditor for Privacy with Python

    Building a Network Tracker Auditor for Privacy with Python

    Streaming Audio Files Securely with PHP

    Streaming Audio Files Securely with PHP

    Scraping Web Data with Python Helium

    Scraping Web Data with Python Helium

    Building a Secure 2FA Authenticator with Python

    Building a Secure 2FA Authenticator with Python

    Building a Cache Warmer with Python

    Building a Cache Warmer with Python

    How to Create a Python GUI to Launch Webhooks

    How to Create a Python GUI to Launch Webhooks

    Mastering python-docx A Guide to Creating Word Documents with Python

    Mastering python-docx: A Guide to Creating Word Documents with Python

  • Blog
    • All
    • Artificial Intelligence
    • Privacy
    • Reviews
    • Security
    • Tutorials
    AdGuard Ad Blocker Review

    AdGuard Ad Blocker Review

    Surfshark VPN Review

    Surfshark VPN Review

    Nmap Unleash the Power of Cybersecurity Scanning

    Nmap: Unleash the Power of Cybersecurity Scanning

    Floorp Browser Review

    Floorp Browser Review

    Understanding Man-in-the-Middle Attacks

    Understanding Man-in-the-Middle Attacks

    Privacy-Focused Analytics

    Privacy-Focused Analytics: Balancing Insights and Integrity

    Safeguarding Your Facebook Account

    Safeguarding Your Facebook Account: Understanding the Differences Between Hacking and Cloning

    38 essential points to harden WordPress

    38 Essential Points to Harden WordPress

    10 Tips and Tricks to Secure Your WordPress Website

    10 Tips and Tricks to Securing Your WordPress Website

  • Apps
    • Bible App
    • Bible Verse Screensaver
    • Blue AI Chatbot
    • Early Spring Predictor
    • FIGlet Generator
    • Password Generator
    • StegX
    • The Matrix
    • WeatherX
    • Website Risk Level Tool
  • About
    • About JMooreWV
    • Live Cyber Attacks
  • Contact
    • General Contact
    • Website Technical Support
No Result
View All Result
Home Guides Linux

How to Install Linux Mint 20.2 “Uma”

Jonathan Moore by Jonathan Moore
4 years ago
Reading Time: 3 mins read
A A
Linux Mint 20
FacebookTwitter

One of the best Linux distributions for beginners is Linux Mint, especially for those who are migrating from Windows to Linux. Unlike Windows, Linux Mint requires very little system resources. You don’t need a super-computer to run this operating system and it is completely free.

There are numerous ways to run and install Linux Mint. If you are unsure if you are ready to switch to Linux Mint, you can try it out by playing with the Live USB version, which we will be creating in order to install Linux Mint. You can also try it out by installing Linux Mint in a VirtualBox.

This guide is going to cover how to install Linux Mint as your main operating system.

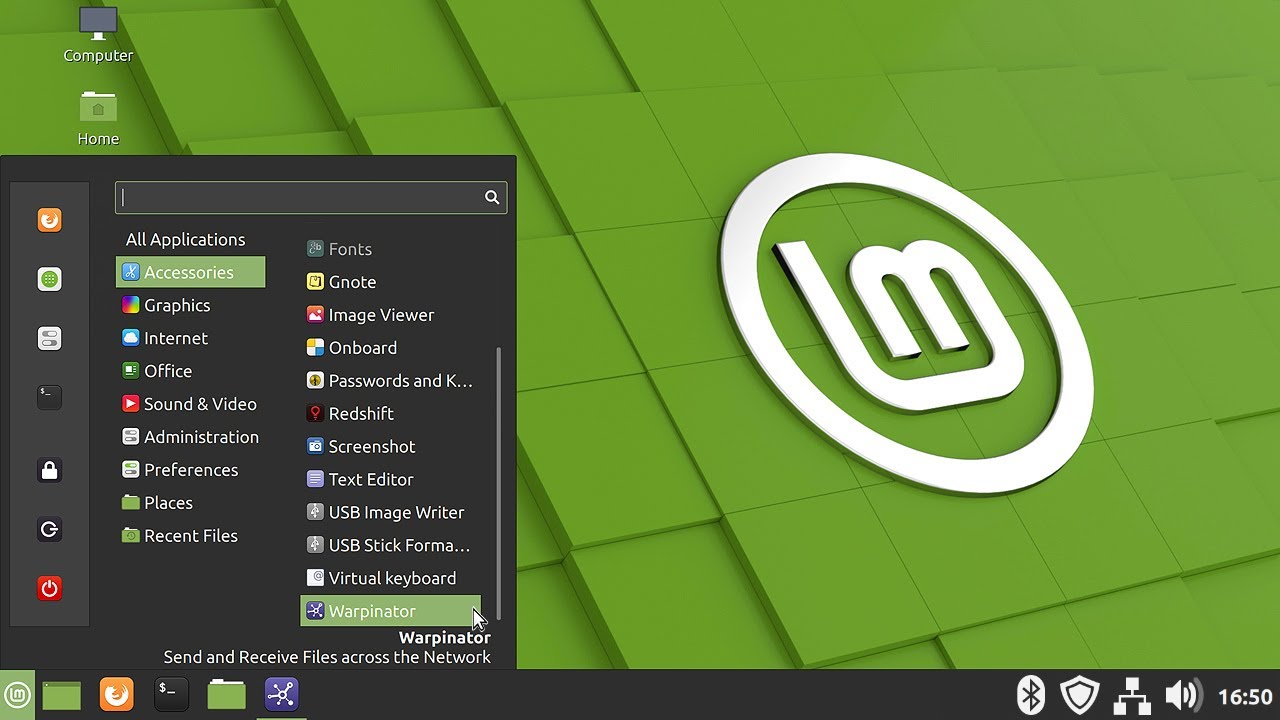
Linux Mint comes in three different editions, which are Cinnamon, MATE, and Xfce. I personally use the Linux Mint 20.2 Cinnamon edition. This guide is made using the Cinnamon edition for the screenshots, so things may appear a little different depending on what edition you decide on.

Installation Requirements

  • A USB drive or DVD of at least 4 GB in size.
  • Active internet connection for downloading Linux Mint ISO.

System Requirements

  • 2 GB RAM (4 GB recommended for a comfortable usage).
  • 20 GB of disk space (100 GB recommended).
  • 1024×768 resolution (on lower resolutions, press ALT to drag windows with the mouse if they don’t fit in the screen).

Warning

This method of installing Linux Mint formats your entire disk. Any data present on the system will be deleted. Please backup your data to an external drive before you proceed.

Step 1 – Download Linux Mint

Before we can install Linux Mint, we need to download it from the official website.

As mentioned above, you have three editions to choose from. If you are unsure on which edition to use, go with the Cinnamon edition.

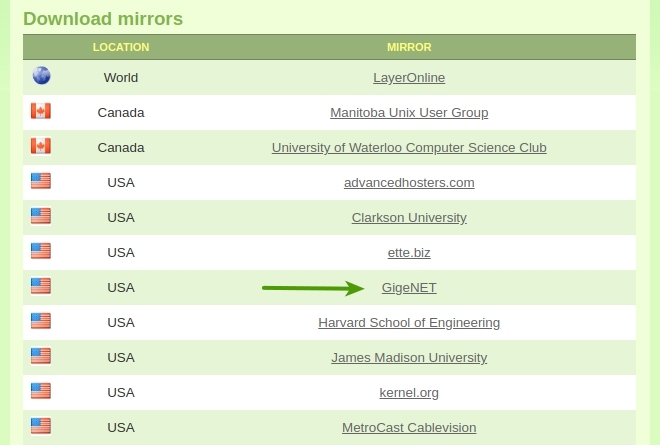
On the next page, scroll down to “Download mirrors” and choose a location that is close to where you live, this will help speed up the downloading process.

Linux Mint Mirror

Step 2 – Create a Live Linux Mint USB

The Live Linux Mint USB is a bootable USB drive that will allow us to restart the computer and boot straight into the live version of Linux Mint. This will allow you to play around with Linux Mint before you install it.

My favorite software to create a Live USB is Etcher, which is available for Windows, macOS, and Linux. If you don’t already have this software, you can download it for free from the balenaEtcher website.

Etcher

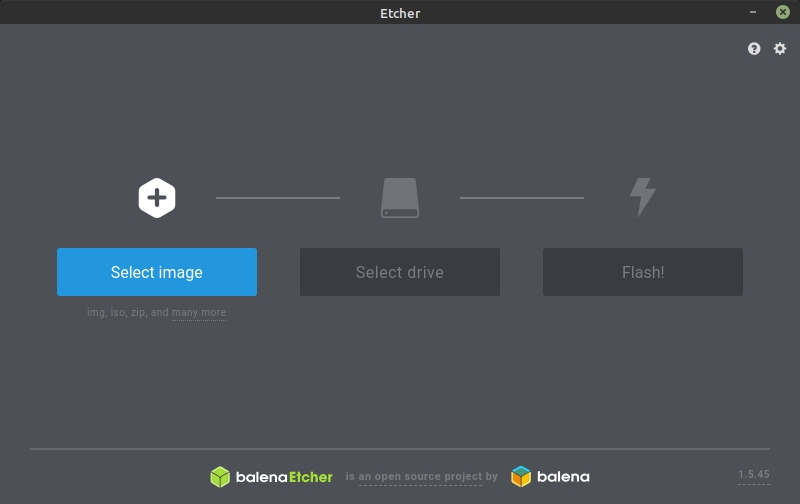
After you have downloaded, installed, and opened Etcher, do the following:

  1. Click “Select image” and select the Linux Mint ISO file that you downloaded earlier.
  2. Click “Select drive” and select your USB stick.
  3. Click “Flash!”

The flashing process will take a few minutes to complete.

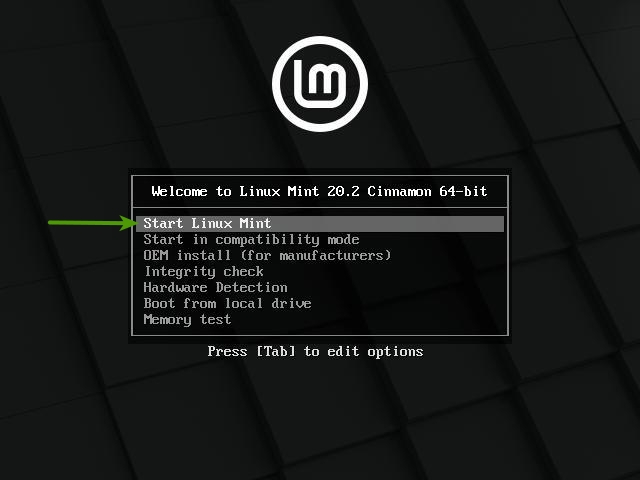
Step 3 – Booting into Linux Mint

If you have never booted to a different drive before, this step may be a little tricky because we will need to boot to the Live USB stick instead of the main hard drive. In order to make this happen, we will need to do the following:

  1. Insert your USB stick into the computer.
  2. Restart the computer.
  3. Before your computer boots your current operating system (Windows, Mac, Linux) you should see your BIOS loading screen. Check the screen or your computer’s documentation to know which key to press and instruct your computer to boot to the USB drive first.

Note

Most BIOS have a special key you can press to select the boot device and all of them have a special key to enter the BIOS configuration screen (from which you can define the boot order). Depending on the BIOS, these special keys can be Escape, F1, F2, F8, F10, F11, F12, or Delete. That information is usually briefly written on the screen during the boot sequence.

On Macs, keep your finger pressed on the Alt or Option key after hearing the boot sound.

Linux Mint Install - Step 1

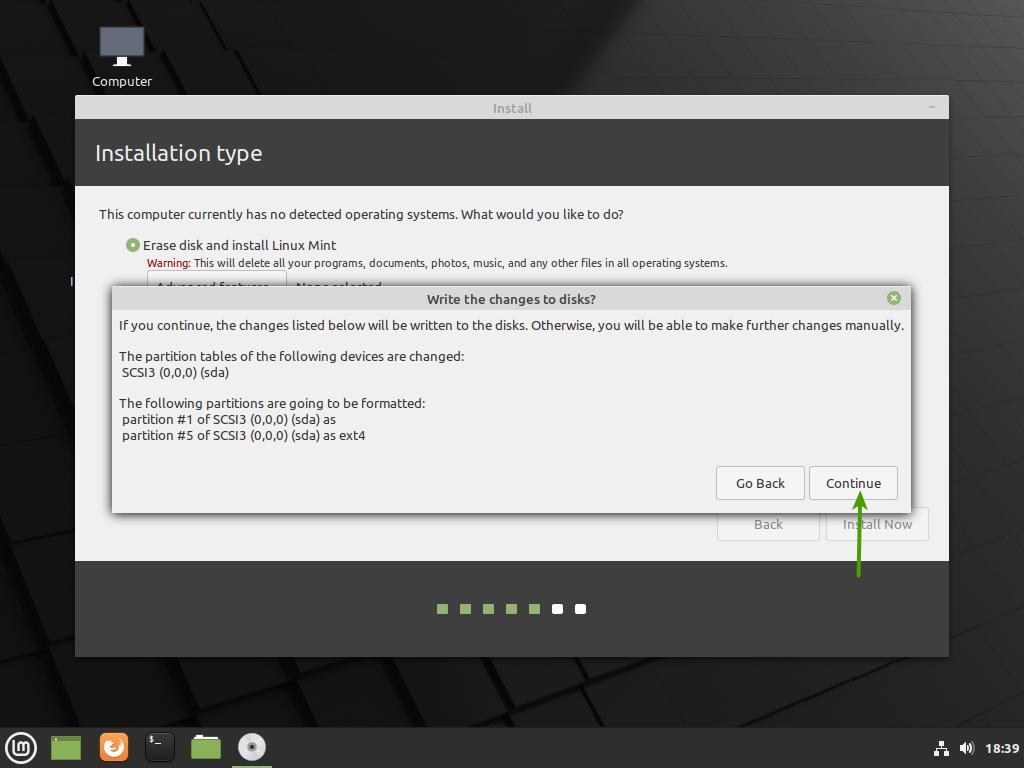
Step 4 – Install Linux Mint

Now that we have booted into the live session of Linux Mint, take some time to play around with it and become familiar with the operating system before you install it. Don’t worry, this is a live session, so you don’t have to worry about breaking anything, besides if you do, just restart your computer.

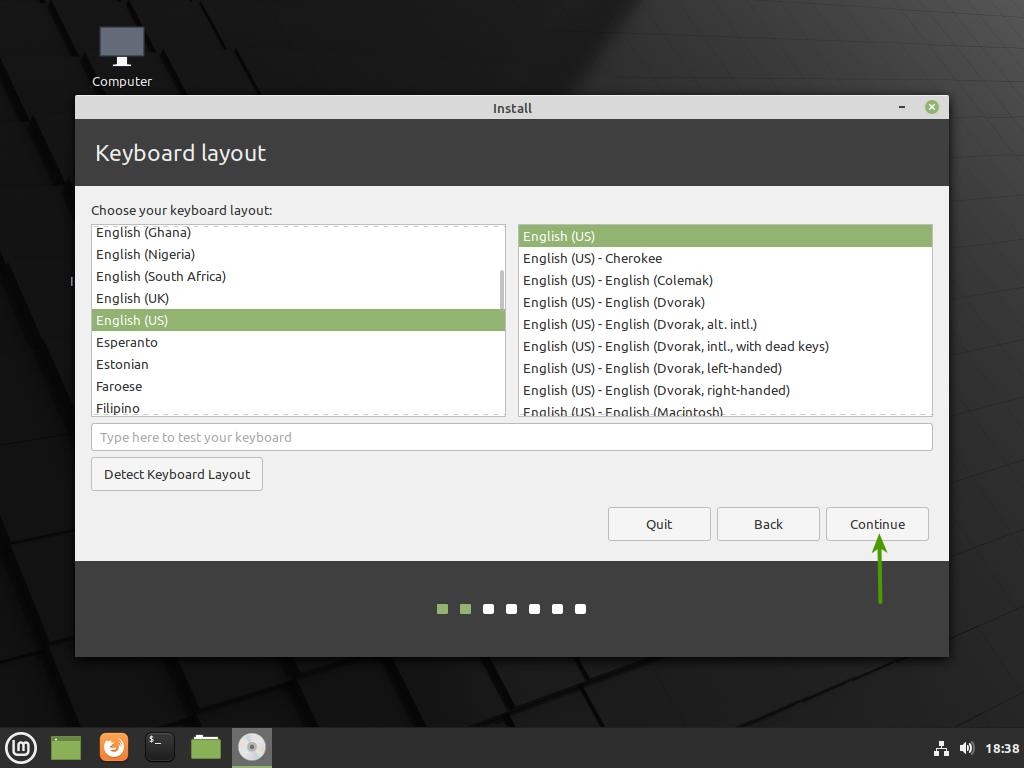
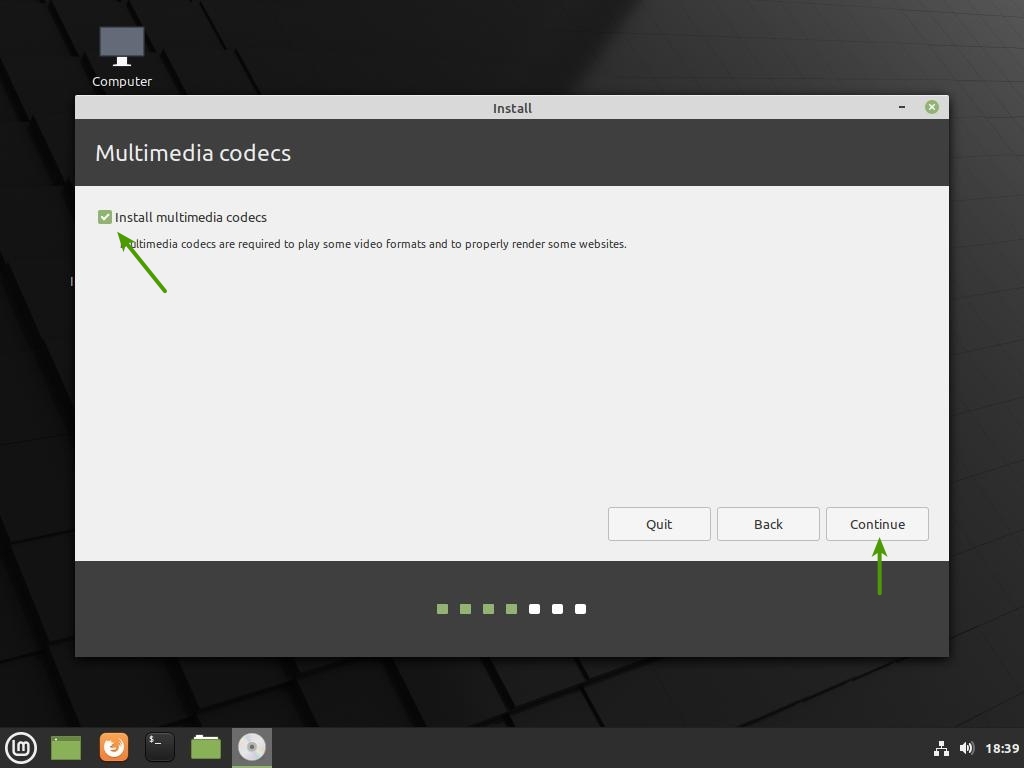
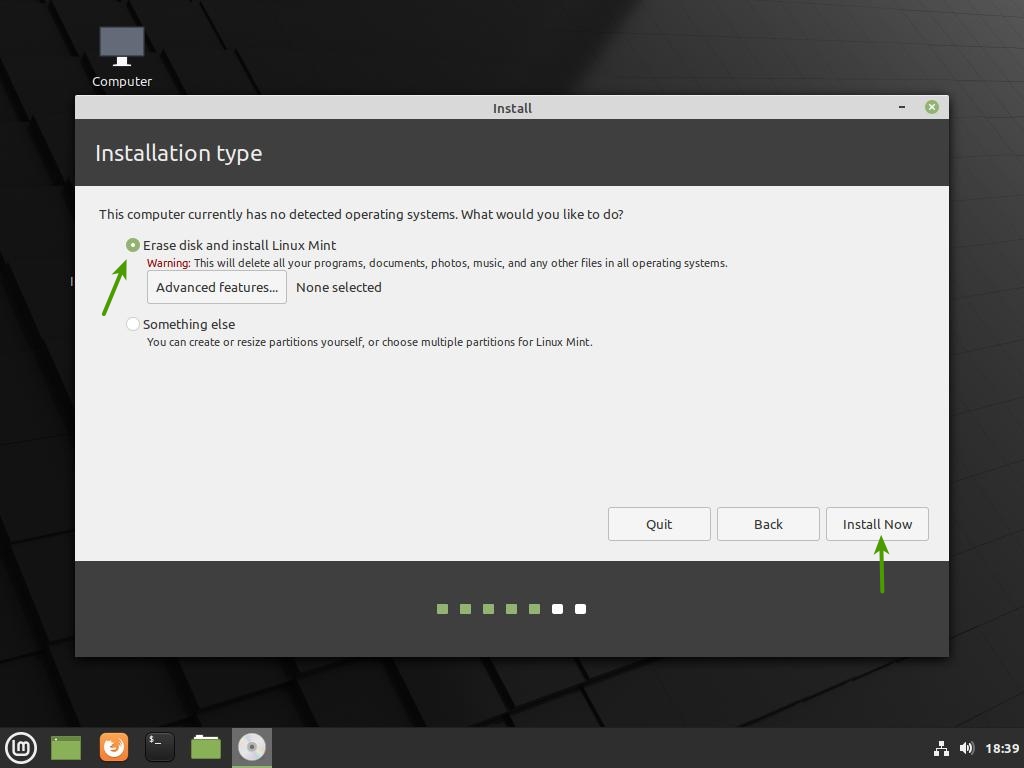
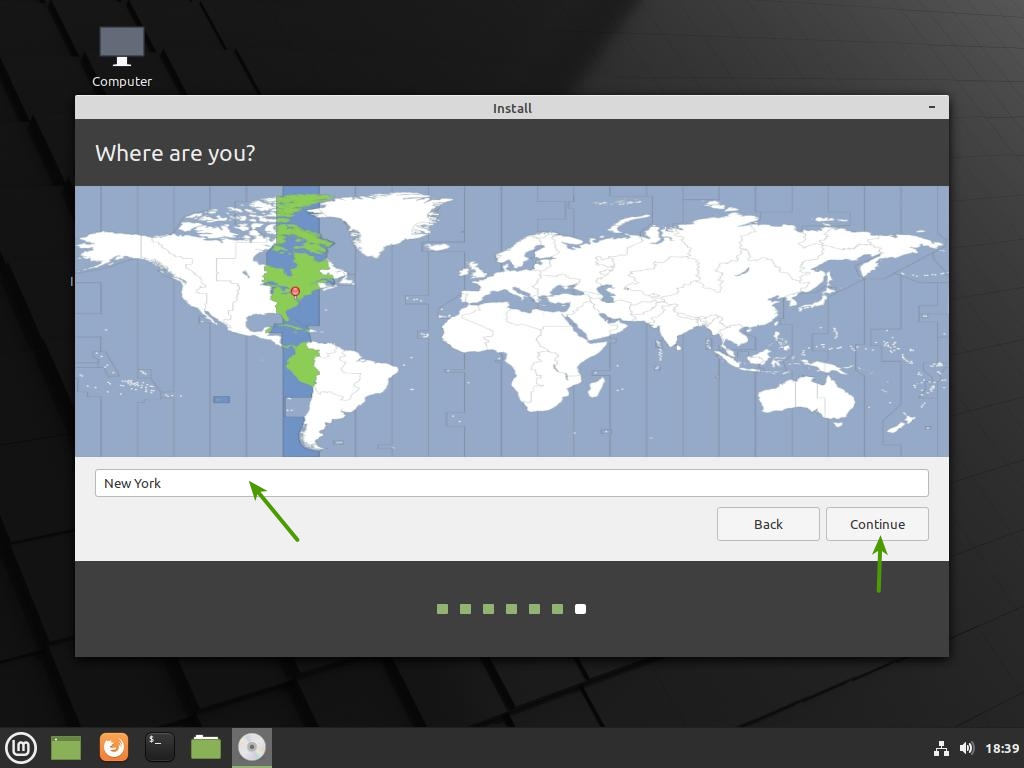
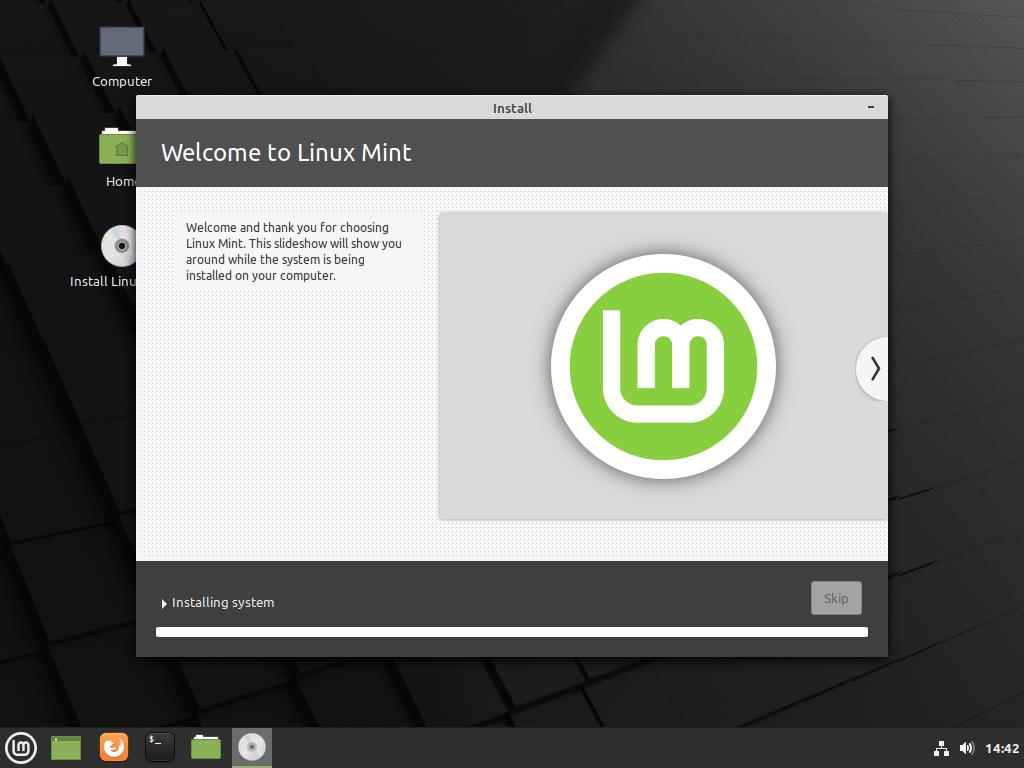
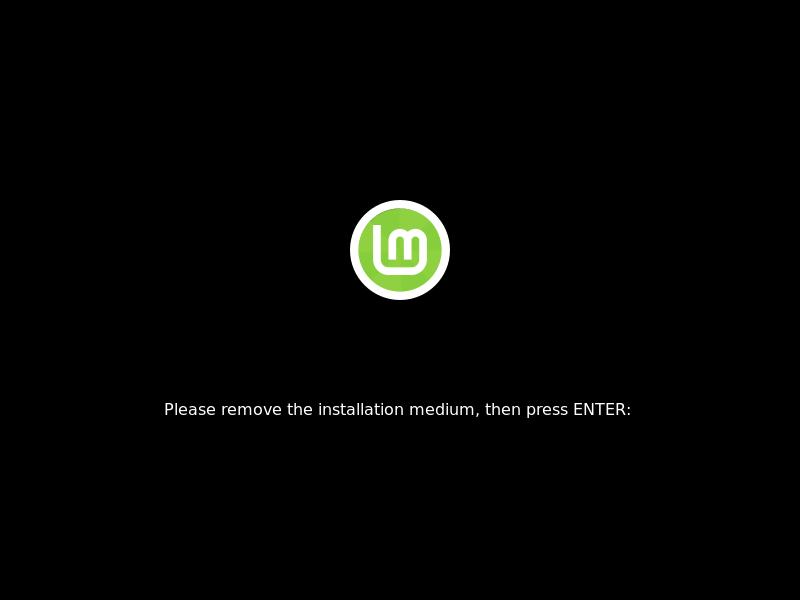
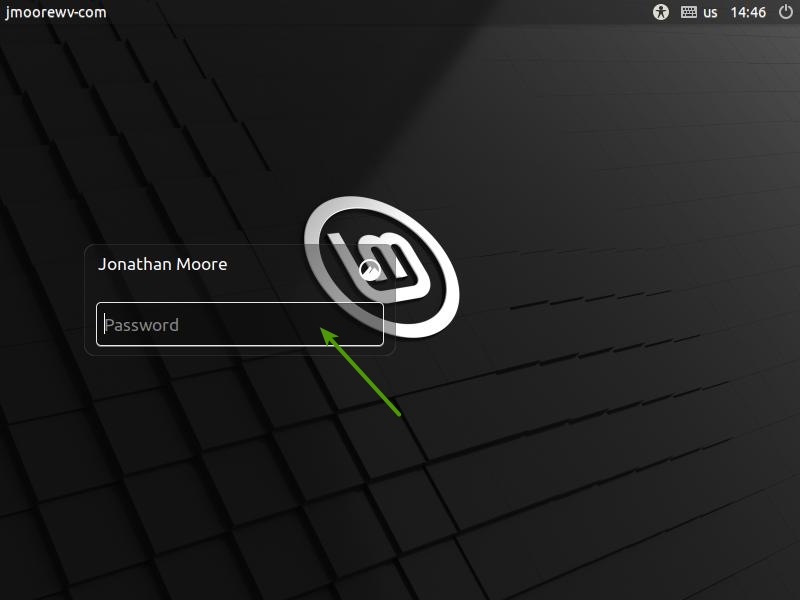
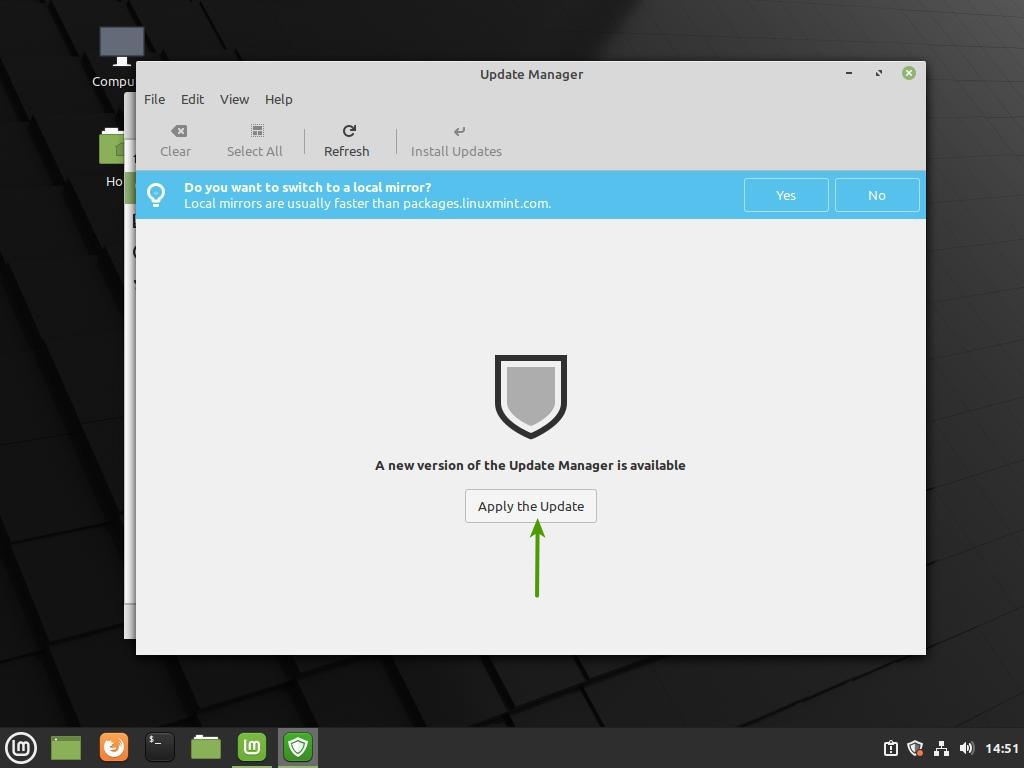
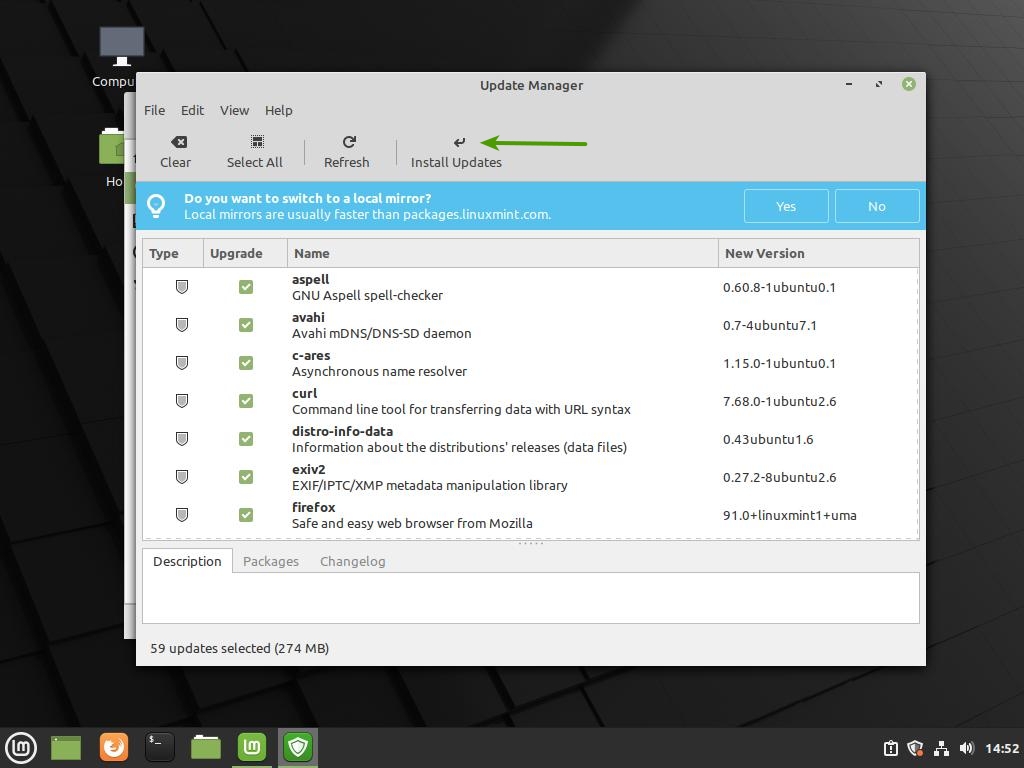
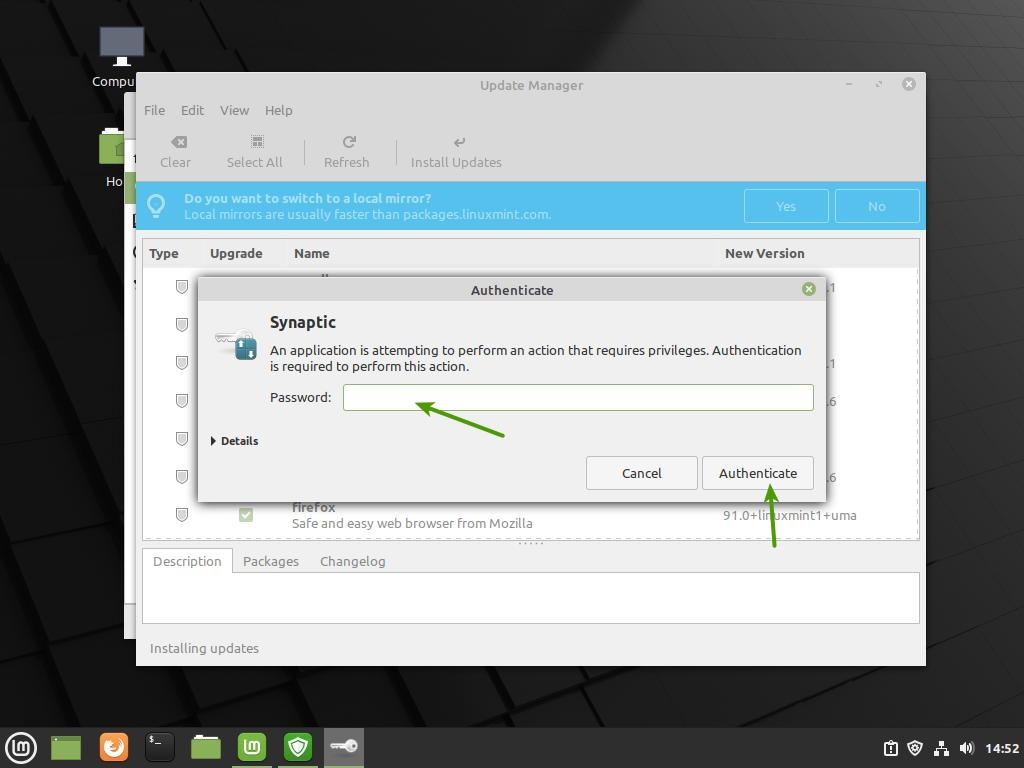
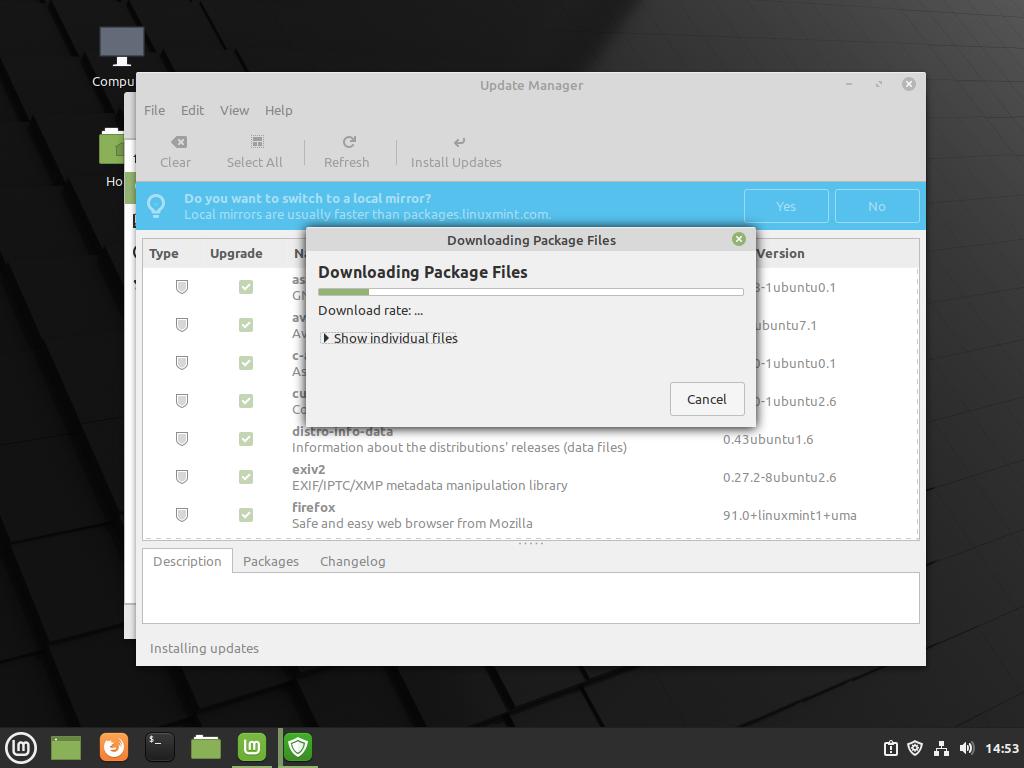
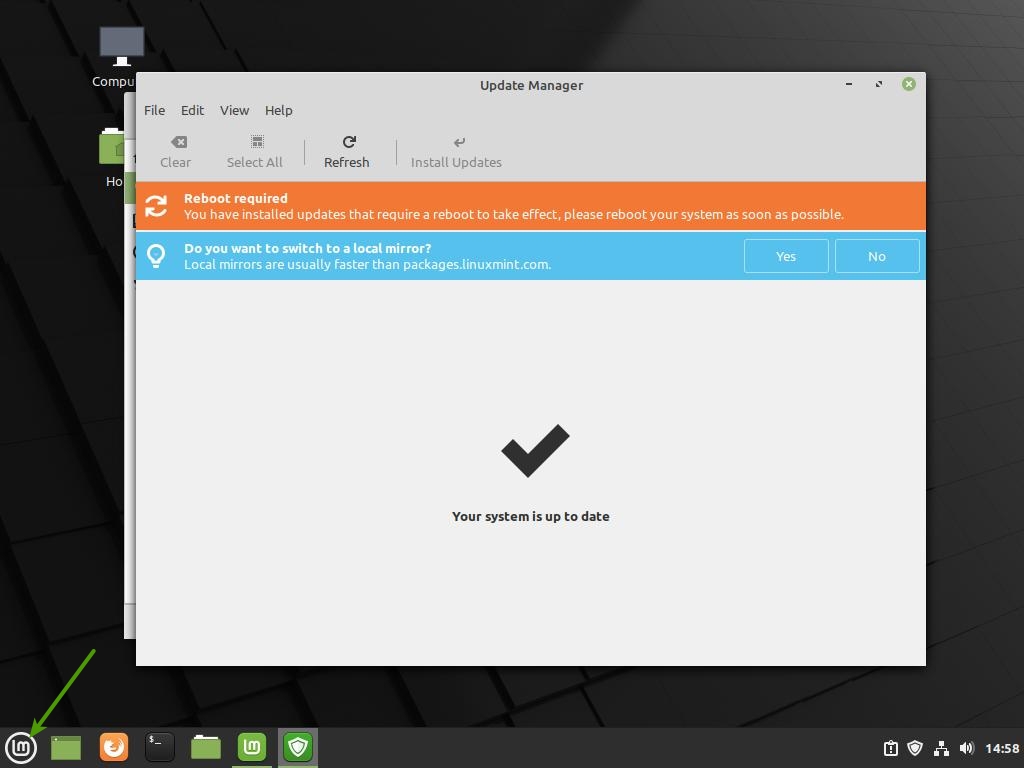
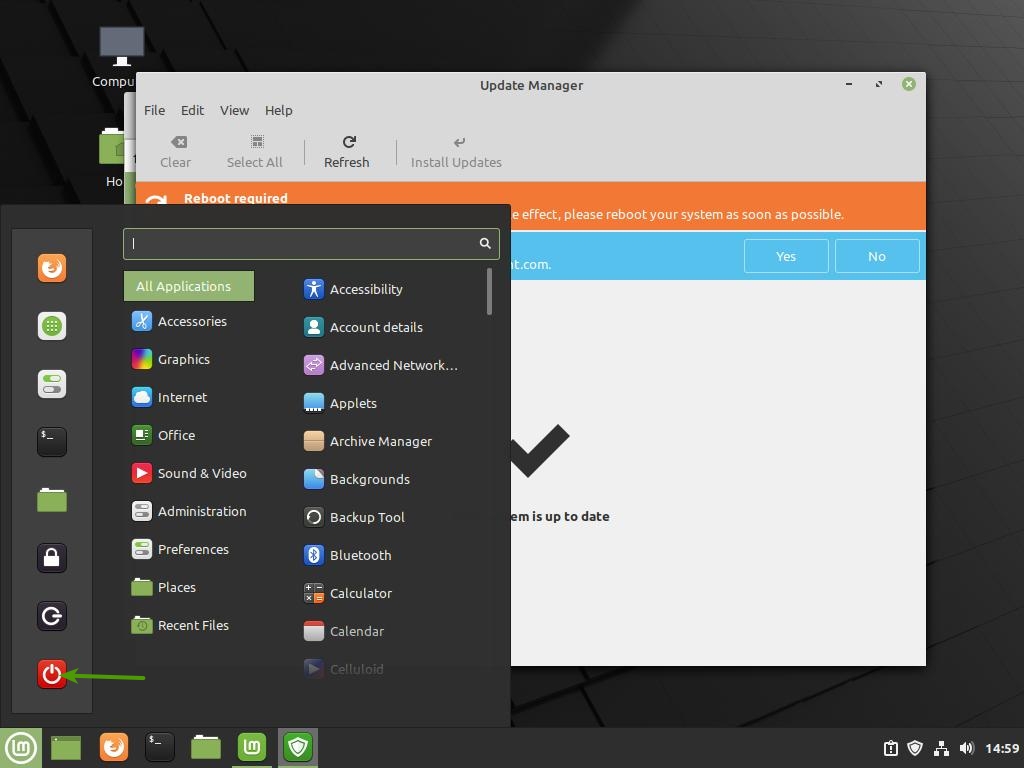
Let’s continue to the installation part of Linux Mint. The following images will guide you through the remaining installation process. This process should take between 10 to 20 minutes depending on the speed of your computer and internet.

Linux Mint Install - Step 3
Choose your language.
Linux Mint Install - Step 4
Choose your keyboard layout.
Linux Mint Install - Step 5
Install multimedia codecs.
Linux Mint Install - Step 6
Choose how to prepare your hard drive.
Linux Mint Install - Step 7
Continue with formatting and writing changes.
Linux Mint Install - Step 8
Choose your time zone.
Linux Mint Install - Step 9
Create an account for your computer.
Linux Mint Install - Step 10
Allow the installation to finish.
Linux Mint Install - Step 11
Restart your computer.
Linux Mint Install - Step 12
Remove your Live USB or DVD from your computer.
Linux Mint Install - Step 13
Log into your new account.
Linux Mint Install - Step 14
You are greeted with the Welcome Screen.
Linux Mint Install - Step 15
Check if Drivers need to be installed and launch the Update Manager.
Linux Mint Install - Step 16
Click “Ok” to continue.
Linux Mint Install - Step 17
Apply the update for the Update Manager.
Linux Mint Install - Step 18
Enter your password to confirm the Update.
Linux Mint Install - Step 19
Install new updates for your system.
Linux Mint Install - Step 20
Click “Ok” to continue.
Linux Mint Install - Step 21
Enter your password to confirm the Update.
Linux Mint Install - Step 22
Allow the updates to complete.
Linux Mint Install - Step 23
Click the Linux Mint menu icon.
Linux Mint Install - Step 24
Click the Power icon.
Linux Mint Install - Step 25
Click to “Restart” your computer.

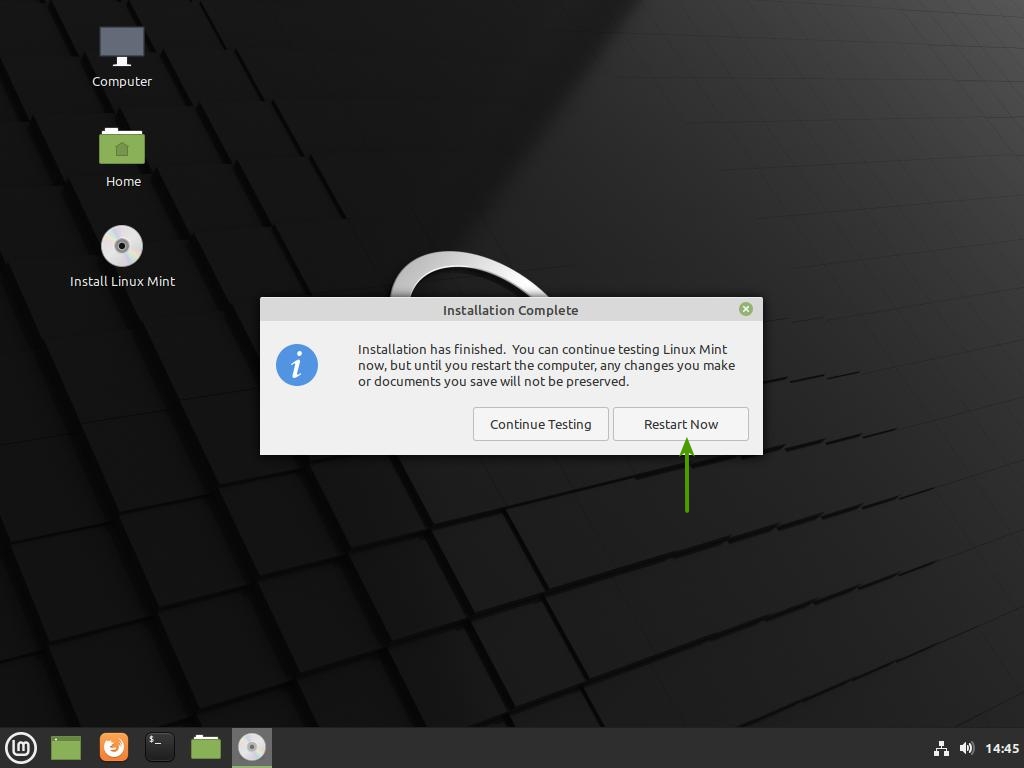
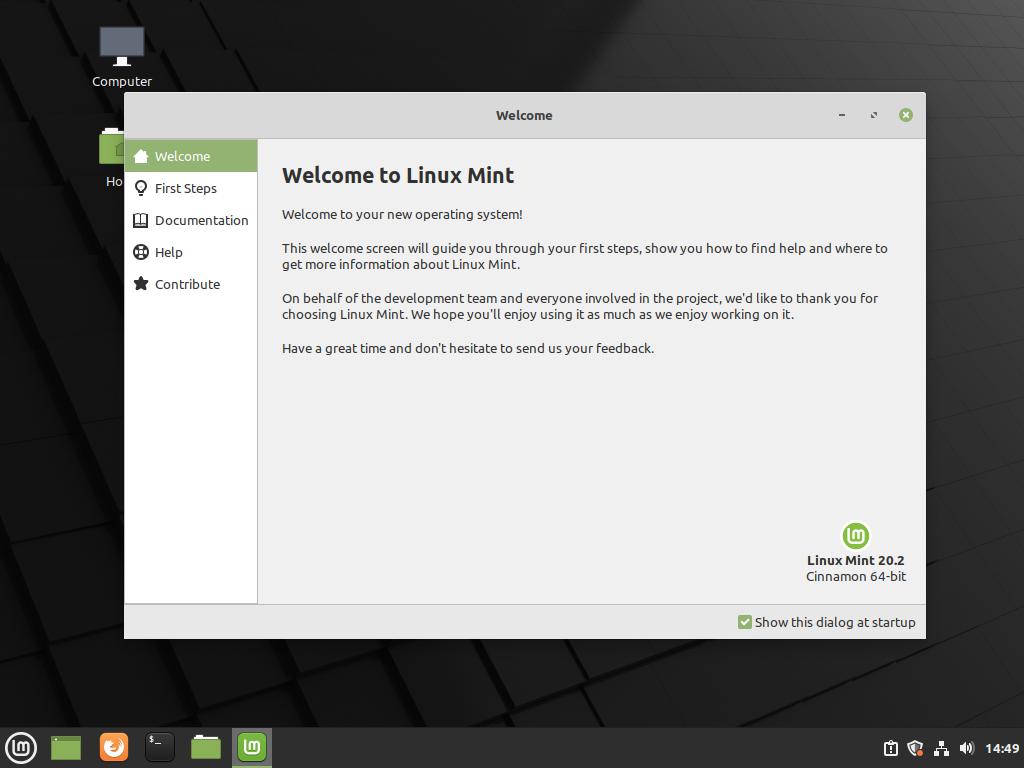
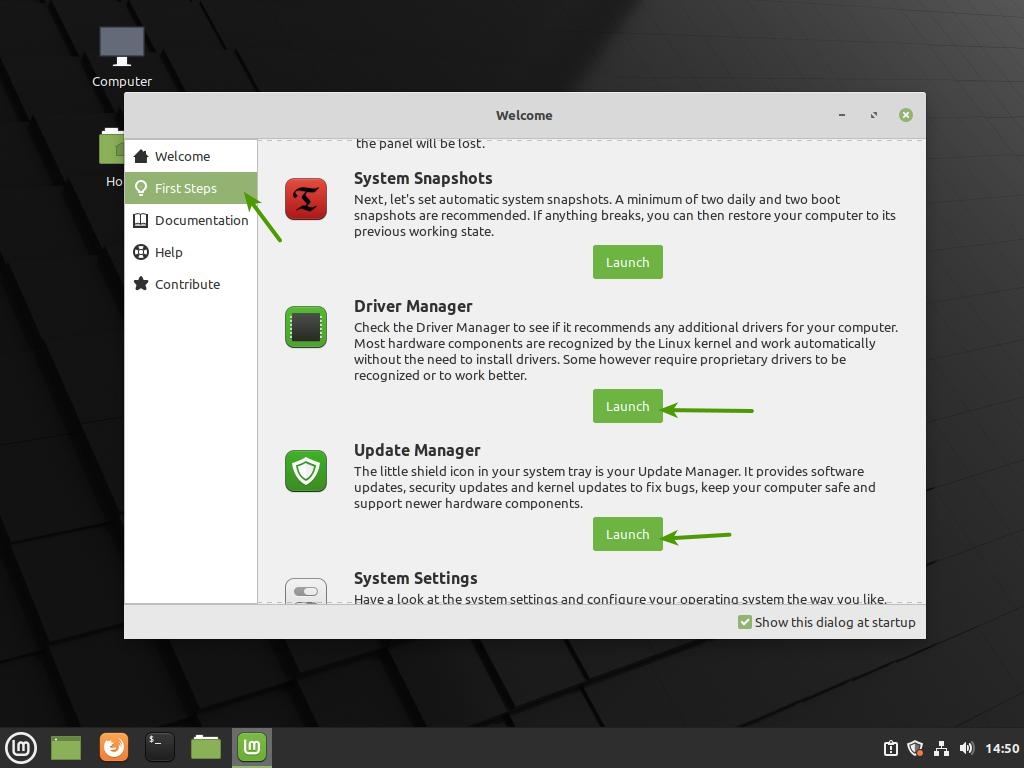
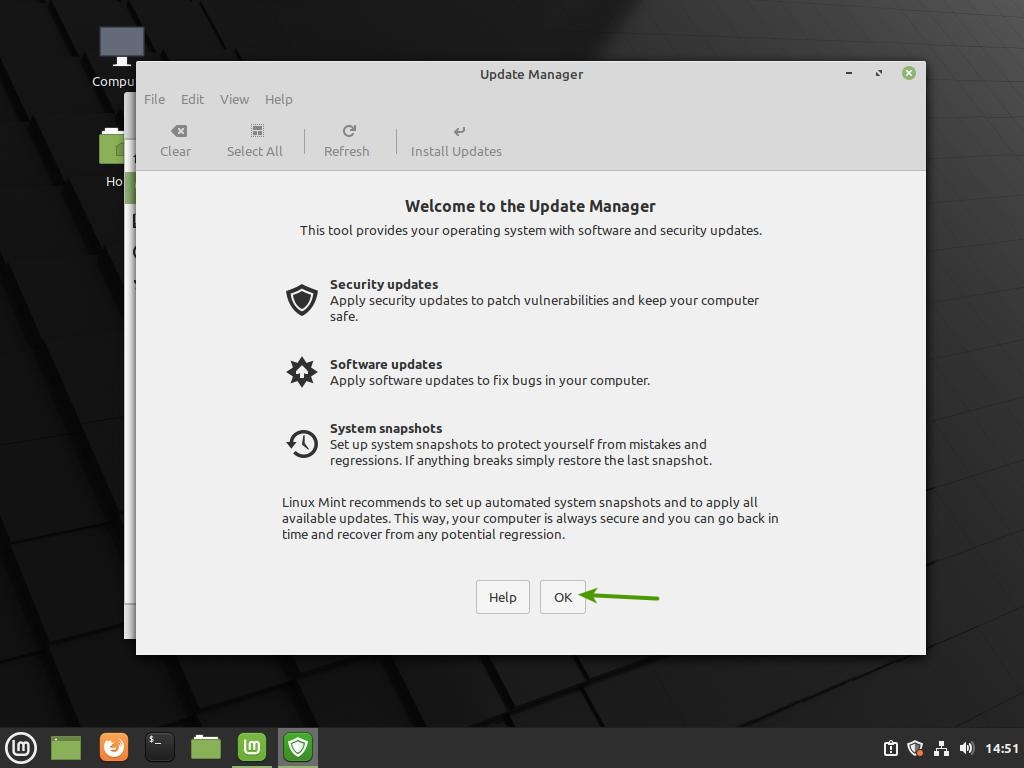
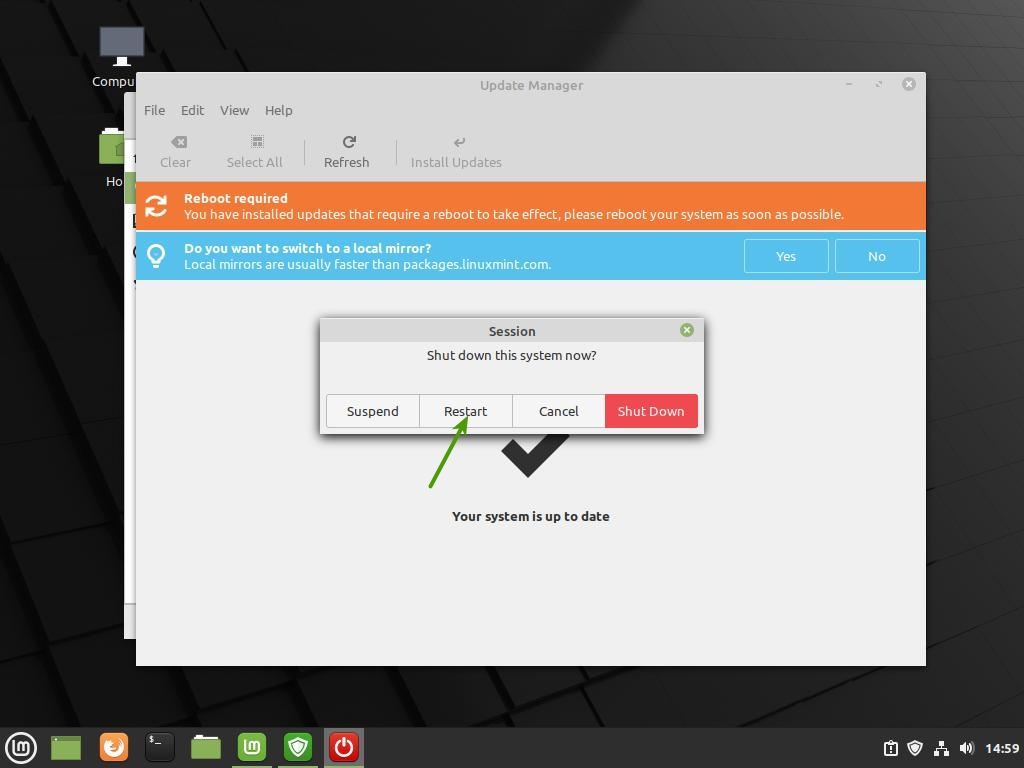
That’s it, you’ve successfully completed the installation of Linux Mint 20.2 on your system. You can now copy your backed-up files to your computer and explore all of the wonderful things that Linux Mint has to offer.

Tags: LinuxLinux MintTools
ShareTweetSharePinShareShareScan
ADVERTISEMENT
Jonathan Moore

Jonathan Moore

Senior Software Engineer and Cybersecurity Specialist with over 3 decades of experience in developing web, desktop, and server applications for Linux and Windows-based operating systems. Worked on numerous projects, including automation, artificial intelligence, data analysis, application programming interfaces, intrusion detection systems, streaming audio servers, WordPress plugins, and much more.

Related Articles

My SSH Setup: How I Manage Multiple Servers

My SSH Setup: How I Manage Multiple Servers

If you work with more than one server, the need to manage multiple servers with SSH becomes obvious pretty quickly....

Building a Network Tracker Auditor for Privacy with Python

Building a Network Tracker Auditor for Privacy with Python

In my last post, I dug into AdGuard, a robust ad blocker that tackles trackers and ads head-on. But how...

Floorp Browser Review

Floorp Browser Review

The Floorp browser, a fork of the popular Firefox browser, has rapidly gained attention for its focus on privacy, customization,...

Next Post
Signal Messenger

Signal Private Messenger Review

Recommended Services

Latest Articles

Monitoring Web Page Changes with Python

Monitoring Web Page Changes with Python

There are times when I need to know that a web page has changed without actively watching it. That might...

Read moreDetails

My SSH Setup: How I Manage Multiple Servers

My SSH Setup: How I Manage Multiple Servers

If you work with more than one server, the need to manage multiple servers with SSH becomes obvious pretty quickly....

Read moreDetails

Building a Network Tracker Auditor for Privacy with Python

Building a Network Tracker Auditor for Privacy with Python

In my last post, I dug into AdGuard, a robust ad blocker that tackles trackers and ads head-on. But how...

Read moreDetails

AdGuard Ad Blocker Review

AdGuard Ad Blocker Review

Ad blocking software has become essential for anyone who values a clean, fast, and secure browsing experience. With the ever-increasing...

Read moreDetails
  • Privacy Policy
  • Terms of Service

© 2025 JMooreWV. All rights reserved.

No Result
View All Result
  • Home
  • Guides
    • Linux
    • Programming
      • JavaScript
      • PHP
      • Python
    • Tools
    • WordPress
  • Blog
    • Artificial Intelligence
    • Tutorials
    • Privacy
    • Security
  • Apps
    • Bible App
    • Bible Verse Screensaver
    • Blue AI Chatbot
    • Early Spring Predictor
    • FIGlet Generator
    • Password Generator
    • StegX
    • The Matrix
    • WeatherX
    • Website Risk Level Tool
  • About
    • About JMooreWV
    • Live Cyber Attacks
  • Contact
    • General Contact
    • Website Technical Support