
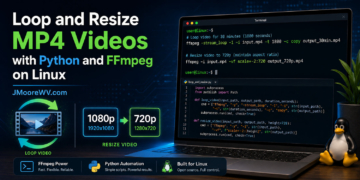
















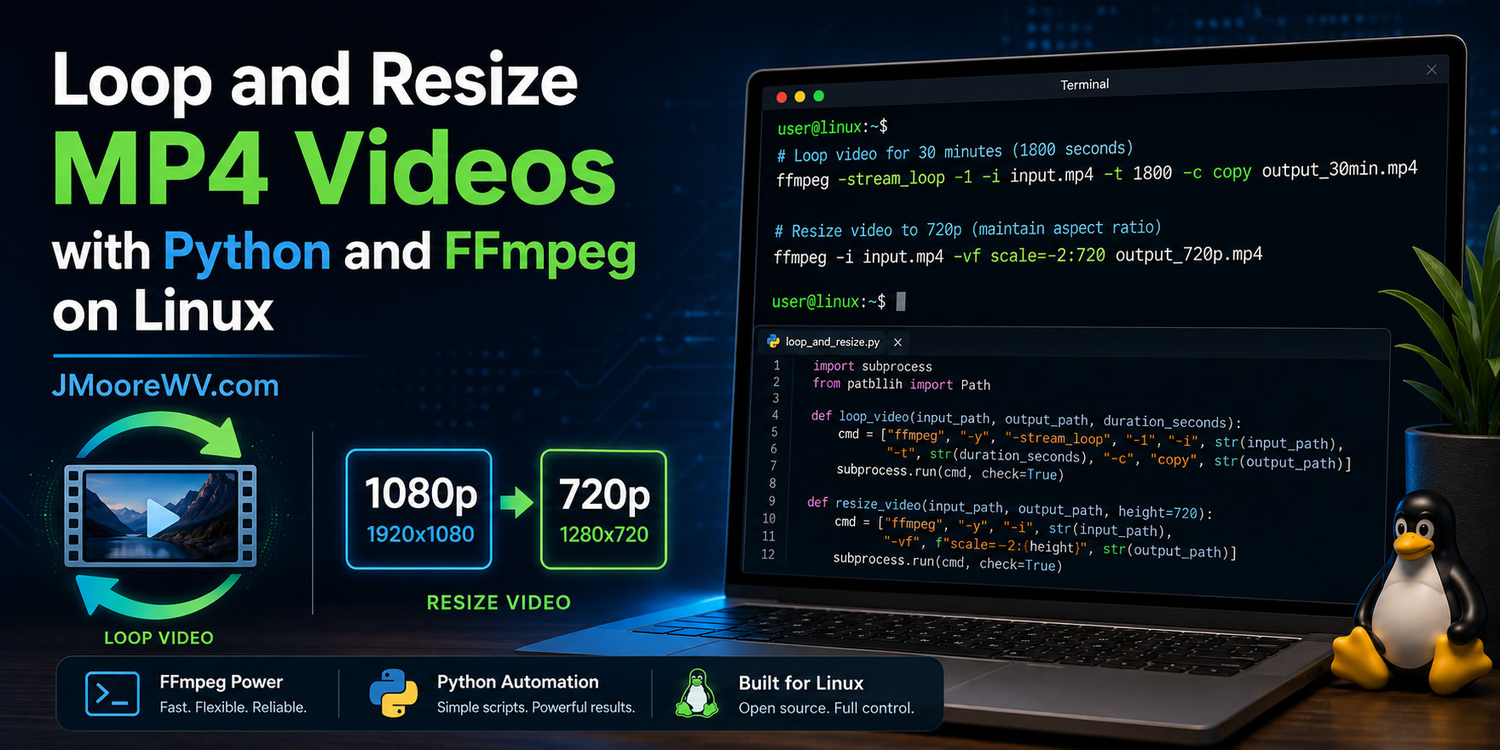
Sometimes I need a short video to run much longer than the original clip. That might be an animated background, an ambient visual, a music video backdrop, a video overlay, or a simple social media clip that needs to fill a specific length. I do not always want to open a full video editor for that kind of job. If the source clip already looks and sounds right, I usually just want a repeatable way to stretch it into a longer file.
FFmpeg is perfect for that kind of task because it can loop an input video and stop the output after a specific duration. The command line version is already fast, but I also like wrapping common FFmpeg commands in small Python scripts. That gives me something reusable that can later be connected to file manager actions, batch tools, or other automation scripts. The Python code does not process the video itself. It simply builds and runs the FFmpeg command for me.
This article is written with Linux Mint and Ubuntu users in mind, but the same commands should work on most Linux distributions with FFmpeg installed. I am going to keep the examples focused on MP4 files because that is one of the most common formats people deal with. The same ideas can be adjusted for other formats, but MP4 keeps the workflow easy to test.
Installing FFmpeg On Linux Mint Or Ubuntu
Linux Mint and Ubuntu make FFmpeg easy to install through apt. If FFmpeg is already installed, these commands will either confirm that or update it through the normal package process. I usually start here before writing any script because the Python wrapper depends on the ffmpeg command being available in the system path.
sudo apt update
sudo apt install ffmpeg
After installation, check that FFmpeg responds from the terminal. The version output will include build information and enabled libraries. You do not need to understand every line of that output for this article. The important part is that the command runs successfully.
ffmpeg -version
If your distribution uses a different package manager, install FFmpeg through that distribution’s normal software tools. The rest of the examples still use the same ffmpeg command once it is installed. That consistency is one reason FFmpeg is so useful for automation.
Looping An MP4 For 30 Minutes With FFmpeg
The basic FFmpeg command for this job is short. It tells FFmpeg to repeat the input forever, then stops writing the final output after 1800 seconds. Since 1800 seconds is 30 minutes, that gives us a finished 30 minute video from a short source clip.
ffmpeg -stream_loop -1 -i input.mp4 -t 1800 -c copy output_30min.mp4
The -stream_loop -1 option tells FFmpeg to loop the input indefinitely. The -i input.mp4 option points FFmpeg to the source video. The -t 1800 option tells FFmpeg to stop the output at 1800 seconds. The -c copy option copies the existing video and audio streams instead of re-encoding them.
That last option is what makes this command fast. When FFmpeg can stream copy the video and audio, it does not have to decode and encode every frame again. That preserves the original quality and avoids wasting time on a conversion that is not needed. For a simple loop from a clean source file, this is usually the first version I try.
There is one catch worth knowing. Some MP4 files can have timestamp or playback issues when stream-copying repeated content. If the loop boundary behaves oddly, the output has audio drift, or a media player reports strange duration information, re-encoding may be the safer option. Stream copying is fast, but re-encoding gives FFmpeg more control over the final timeline.
A Reusable Python Wrapper For Looping Video
The command line version is fine when I only need to do the job once. If I expect to repeat the task, I prefer a small Python script. The script below accepts an input filename, an optional output filename, and an optional duration in minutes. If I do not specify a duration, it creates a 30 minute loop by default.
This script uses Python’s standard library, so there are no extra Python packages to install. The only external requirement is FFmpeg itself. It checks whether the input file exists, builds a sensible output filename when one is not provided, converts minutes to seconds, and then runs FFmpeg through subprocess.run. I like wrappers like this because they keep the workflow readable without hiding what FFmpeg is doing.
#!/usr/bin/env python3

import argparse
import subprocess
import sys
from pathlib import Path


def loop_video(input_file, output_file=None, minutes=30):
    input_path = Path(input_file)

    if not input_path.exists():
        print(f"Error: File not found: {input_path}")
        sys.exit(1)

    if output_file:
        output_path = Path(output_file)
    else:
        output_path = input_path.with_name(
            f"{input_path.stem}_{minutes}min{input_path.suffix}"
        )

    duration = minutes * 60

    command = [
        "ffmpeg",
        "-y",
        "-stream_loop", "-1",
        "-i", str(input_path),
        "-t", str(duration),
        "-c", "copy",
        str(output_path),
    ]

    print(f"Creating {minutes}-minute loop...")
    print(f"Input:  {input_path}")
    print(f"Output: {output_path}")

    try:
        subprocess.run(command, check=True)
        print("Done.")
    except FileNotFoundError:
        print("Error: ffmpeg is not installed or is not in PATH.")
        sys.exit(1)
    except subprocess.CalledProcessError:
        print("Error: ffmpeg failed to create the looped video.")
        sys.exit(1)


if __name__ == "__main__":
    parser = argparse.ArgumentParser(
        description="Loop an MP4 video to a specified duration."
    )

    parser.add_argument(
        "input",
        help="Input MP4 file"
    )

    parser.add_argument(
        "-o", "--output",
        help="Output MP4 file"
    )

    parser.add_argument(
        "-m", "--minutes",
        type=float,
        default=30,
        help="Final video length in minutes (default: 30)"
    )

    args = parser.parse_args()

    loop_video(args.input, args.output, args.minutes)
The -y option in the generated FFmpeg command allows FFmpeg to overwrite an existing output file. That is convenient when I am testing, but it is also something to notice before running the script on important files. If you do not want automatic overwriting, remove "-y" from the command list. I usually keep it in small utility scripts because I know when I am intentionally regenerating the same output.
Saving And Running The Script
Save the script as loop_video.py in the same folder as the video you want to process, or save it somewhere else and pass the full path to the input file. After saving it, make it executable. That lets you run it directly from the terminal like a normal command.
chmod +x loop_video.py
./loop_video.py short-video.mp4
With no output filename specified, the script creates a name based on the original file. For example, short-video.mp4 becomes something like short-video_30min.mp4. That is handy because it keeps the original file untouched. I prefer that behavior for utilities that transform media files.
You can also choose the output filename yourself. This is useful when the finished video has a purpose, such as a background clip or a video overlay. The script passes that filename directly to FFmpeg as the final output path.
./loop_video.py short-video.mp4 -o background.mp4
If you want a different duration, use the -m or --minutes option. This example creates a 60 minute version of the input video. Since the script accepts a floating point value, shorter values like 2.5 also work when you need a quick test file.
./loop_video.py short-video.mp4 -m 60
This is still just a Python wrapper around FFmpeg. That is a good thing. FFmpeg remains responsible for the actual media work, while Python handles argument parsing, filenames, validation, and reuse. That same pattern works well when adding video processing to file manager actions, batch scripts, folder watchers, web tools, or larger Python applications.
Resizing A 1080p Video Down To 720p
Looping a video and resizing a video are different jobs. The loop command can often copy the original streams because it is not changing the picture itself. Resizing changes every video frame. That means FFmpeg has to decode the video, scale the frames, and encode a new video stream.
Here is a practical FFmpeg command for resizing a 1080p MP4 down to 720p. It keeps the original aspect ratio, encodes the new video with H.264, and copies the original audio without re-encoding it. For most normal video files, this is a good starting point.
ffmpeg -i input.mp4 -vf scale=-2:720 -c:v libx264 -crf 20 -preset medium -c:a copy output_720p.mp4
The scale=-2:720 filter tells FFmpeg to set the height to 720 pixels and calculate the width automatically. The -2 value keeps the width divisible by 2, which avoids compatibility problems with common video encoders. A standard 1920×1080 video will become 1280×720. If the source uses a different aspect ratio, FFmpeg will calculate the matching width for that shape.
The -c:v libx264 option encodes the new video stream using H.264. The -crf 20 option controls quality and file size. Lower CRF values mean higher quality and larger files, while higher values create smaller files with more compression. A value around 20 is a good balance for many practical uses.
The -preset medium option controls encoding speed versus compression efficiency. Slower presets usually take longer but may create smaller files at the same CRF value. Faster presets finish sooner but may not compress quite as efficiently. The -c:a copy option keeps the original audio stream as-is, which saves time and avoids unnecessary audio quality loss.
A Faster 720p Resize Command
If I need the resize to finish faster, I use a faster preset. The output quality target is still controlled by -crf 20, but the encoder spends less time trying to compress the file efficiently. This is useful for previews, drafts, quick uploads, or situations where waiting longer is not worth a smaller file.
ffmpeg -i input.mp4 -vf scale=-2:720 -c:v libx264 -crf 20 -preset fast -c:a copy output_720p.mp4
The tradeoff is simple. -preset fast usually completes sooner than -preset medium. The file may be a little larger because the encoder did less compression work. If I am making a final copy that I plan to keep, I usually start with medium. If I am testing or making a quick shareable version, fast is often good enough.
Why -c copy Does Not Work For Resizing
The -c copy option only works when FFmpeg can copy the existing stream without changing it. That is why it can be useful for looping, trimming, remuxing, or combining compatible streams. Resizing is different because the video frames must be changed. Once the frame size changes, the old video stream cannot simply be copied into the new file.
When you resize from 1080p to 720p, FFmpeg has to create a new video stream. It reads the original frames, scales them to the new resolution, and encodes them again with the selected codec. That is why the resize command uses -c:v libx264 instead of -c copy. The audio can still be copied because the resize does not change the audio stream.
Troubleshooting Common Problems
If the Python script says FFmpeg is not installed or not in the path, run ffmpeg -version directly in the terminal. If that command fails, install FFmpeg with sudo apt install ffmpeg. If FFmpeg is installed but Python still cannot find it, check that you are running the script from the same environment where FFmpeg is available.
If the output file already exists, the script will overwrite it because the FFmpeg command includes -y. That is intentional in the provided script, but it may not be what you want every time. Rename the output file with -o, move the old file, or remove "-y" from the Python command list if you want FFmpeg to ask before replacing files.
If you notice audio pops, timestamp warnings, odd duration reporting, or playback problems at loop boundaries, try re-encoding instead of stream copying. Stream copying is fast, but some MP4 files do not behave perfectly when repeated this way. Re-encoding takes longer, but it can produce a cleaner timeline when the source file has timestamp quirks.
If a resized 720p file is larger than expected, raise the CRF value. A value like -crf 23 will usually create a smaller file than -crf 20, but with more compression. You can also try a slower preset if you have time and want better compression efficiency. The best setting depends on whether you care more about quality, file size, or encoding speed.
Final Thoughts
FFmpeg does the real video processing in this workflow. It can loop a short MP4 into a 30 minute file, copy streams quickly when possible, and resize a 1080p video down to 720p when re-encoding is needed. Once the commands make sense, they become reliable building blocks for everyday video tasks on Linux Mint.
Python makes the workflow easier to reuse. Instead of remembering the full loop command every time, I can run a small script with a filename and optional settings. That is the part I like most about pairing Python with FFmpeg. FFmpeg handles the heavy lifting, and Python turns the command into something easier to automate, repeat, and build into other tools.